3D Mold Making
By Simon Abatay – 3D Molding & Manufacturing
Video By Kristine Abatay
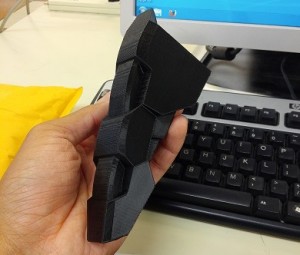
After receiving the 3D-printed parts from manufacturing manager, Ali, it came time to create the mold for casting. The purpose of molding and casting the part is to eliminate the amount of time it would potentially take to print several pieces. The downfall is that the method can become costly if not done properly the first time. Molding and casting also allows projects to have replacement parts if any of the parts break or get damaged.
(Note: this method is only useful if you plan on mass producing a part or plan on having back up parts. If you only need 1 or 2 pieces, it is recommended to use the 3-D printer.)
This post explains the method of mold making that was used to make components for Spiderbot.
Materials:
- Oomoo 30
- Plastic tools to dispose of.
- Oil Based Clay
- Hot glue and glue gun
- Polycarbonate sheets or lexan sheets
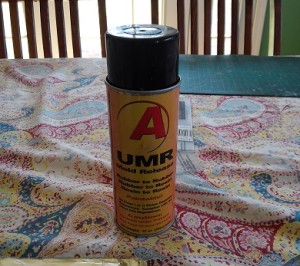
- Mold release spray for silicone and rubber
- Clear plastic cups for mixing
- Aluminum foil
Process:
- Lay the aluminum foil down so you have can protect your work surface.
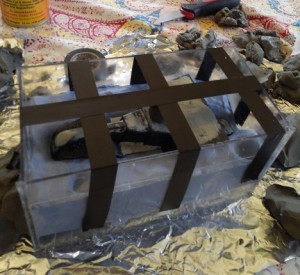
- Cut the plastic sheets to size. (This size is much larger than the piece you are trying to mold.)
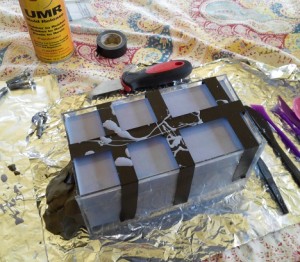
- Using the glue and glue gun, build a box out of the plastic sheets around the part.
- Using the oil based clay. Fill half of the box with the clay and submerge half of the piece in the clay.
- Make positive keys in the clay. (These keys will help with aligning the mold when you are ready to cast.)
- Pour the 2 parts into two different cups while making sure they are of equal amounts as the instructions indicate to mix them at a 1:1 ratio.
- After making sure the mixture of the two parts is a uniform purple tint, pour it into the box submerging the exposed half of the part.
- Let cure for 6 hours.
- After curing, flip the box over and remove all clay.
10. Build a clay cylinder and place it on the highest point of the newly exposed part. This will be the spout for the plastic resin to pour into.
11. Spray down the box and newly exposed part with the mold release spray. (This spray will prevent the just cured half of the mold from sticking to the new half.)
12. Repeat steps 6 through 8.
13. After the final half of the mold is cured, remove the mold from the box.
14. Pull the molds apart and remove the 3-D printed piece.
15. You may now begin casting your part!
This video was used as a reference to make molds and was provided originally by the supplier.
https://www.youtube.com/watch?v=FQ1A7ZjTsx8
This second video shows the process above being applied to the creation of a tibia piece for Spiderbot:


