Spring 2016: 3DoT David Motor Driver Control
BY: Kent Hayes (Electronics and Control)
Introduction:
The motor driver on the 3DoT board is the Sparkfun motor driver 1A dual tb6612fng. Therefore Kent bought the actual component and began to experiment with how it will be controlling the motors.
Related requirements
A part of our project requirements includes the following:
- The 3DoT David shall compete with other robots in a game of tag to demonstrate the functionality of the robot.
Motor Driver Control
In order to play “tag” one would have to be able to maneuver in order to get in range of another player as well as dodge being hit by the person trying to tag them. In order for the robot to demonstrate the ability to walk and turn, we will use motors to rotate the legs
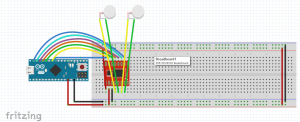
(Fig. 1: Fritzing diagram of motor control setup)
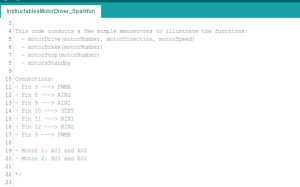
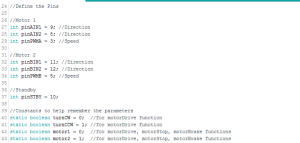
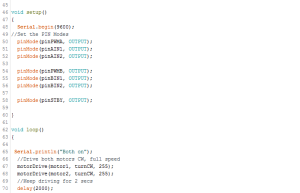
The following are pictures of portions of the arduino code used to test motor control:
(Fig. 2: Comments for setting up the code to drive the motors)
(Fig. 3: Defining the pins and constants for clockwise/counterclockwise rotation)
(Fig. 4: Setup and loop code to drive the motors clockwise)
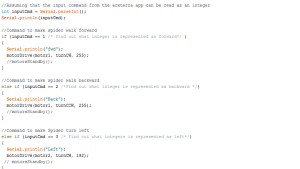
Each motor needs 1 digital pin for sending a PWM signal with values ranging from 0~255 (the greater the value of PWM the more voltage is used and the faster the motor will rotate), and 2 digital pins for determining the direction. The motorDrive function accepts three inputs: one to determine which motor is being used, the other to determine what direction you want the motor to turn, and the final input for the speed of the motor. Once Kent became more comfortable with the code, he generated an alternative code to make the motors change direction based on user input, thanks to the assistance of Chris (3DoT Systems). The following is the resulting code:
(Fig. 5: User input for controlling the motor direction)
Conclusion:
Once the user input code passed the test, Chris successfully came up with the Code to communicate through bluetooth based on the code presented by Kent. Throughout the entirety of the project, we will be referring to this code until we find a way to implement the FSR circuit properly.

