Sojourner Spring 2020
Sojourner Motor Functions & Telemetry
Author: Alex Dalton
Verification: Robert Pearson
Approval: Chris Hirunthanakorn
Table of Contents
Motor Background
For Sojourner, we are using the Greartisan DC 6V 150RPM N20 High Torque Speed Reduction Motor with Metal Gearbox Motor for DIY RC Toys. These motors are small enough to fit into our motor mounts and provide enough force to move Sojourner.
Via the PCB
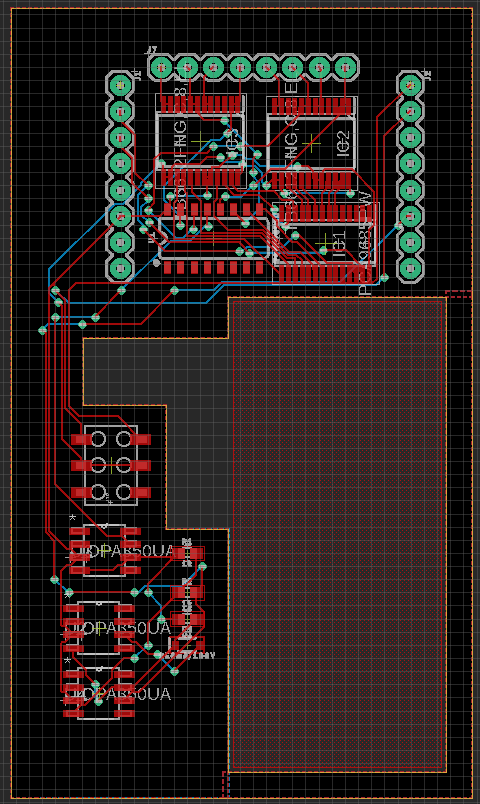
For our PCB we reorganized the board we were given to make space for the addition of a multiplexer and a full wave rectifier. One way we made space was by changing the jst headers to standard pin headers. We also moved the headers and some of our ic chips towards the top of the board to avoid have large power lines taking up too much space. For our back emf circuit we added a full wave rectifier, which turns the negative values of our motor data into positives, on to the board so our rpm could be measured going forward and backward. We also added a multiplexer IC onto the board so that we could choose which motor we wanted to get our data from. The TB6612FNG motor drivers are the same as the ones on the 3DoT and we are controlling them with the PCA9685PW PWM driver by using the pwm signals with either 100% or 0% duty cycle to produce digital signals that control the direction of the motors. We also use some of the pins as regular pwm signals to control the speed of the motors. The same method we use to control motor direction is also used to control the multiplexer and choose which motor we are receiving data from.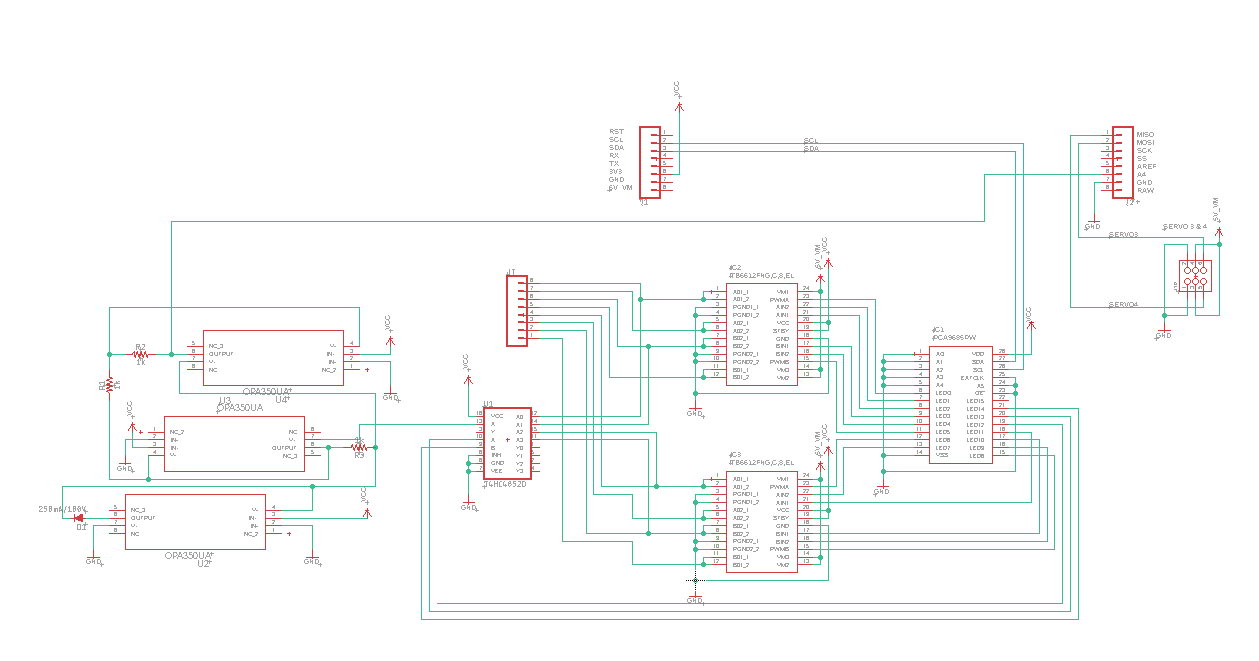
Figure 1: PCB schematic
Figure 2: Board design
The Arxrobot App
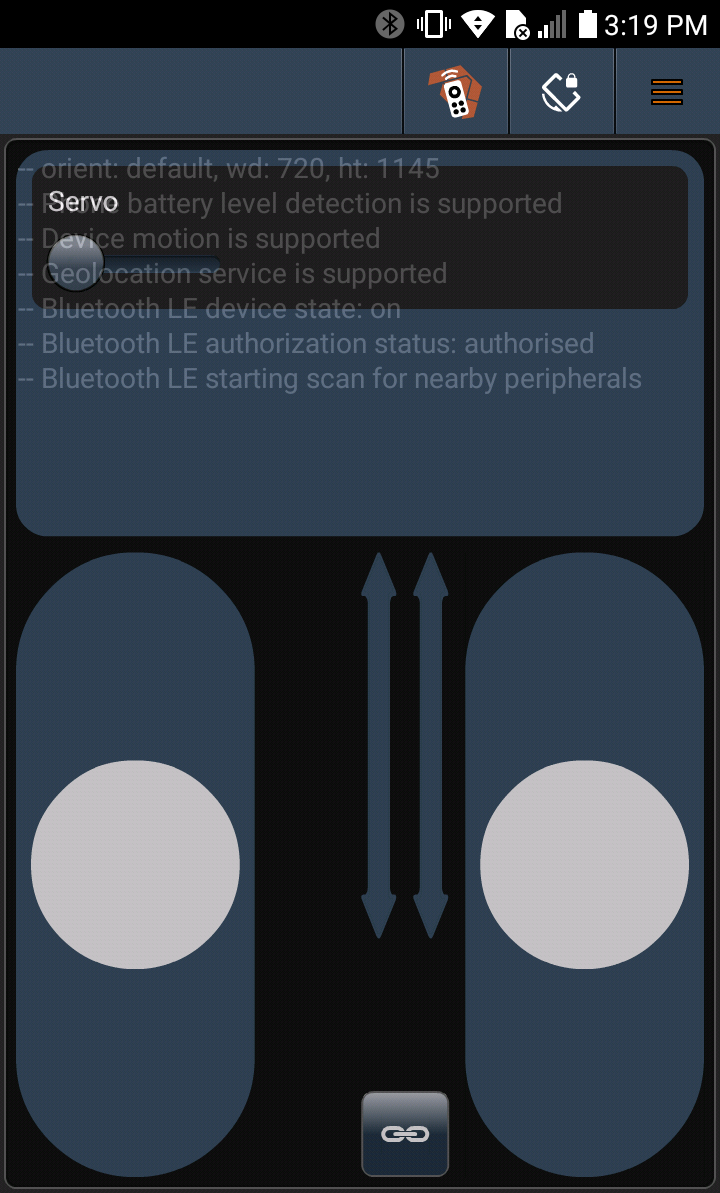
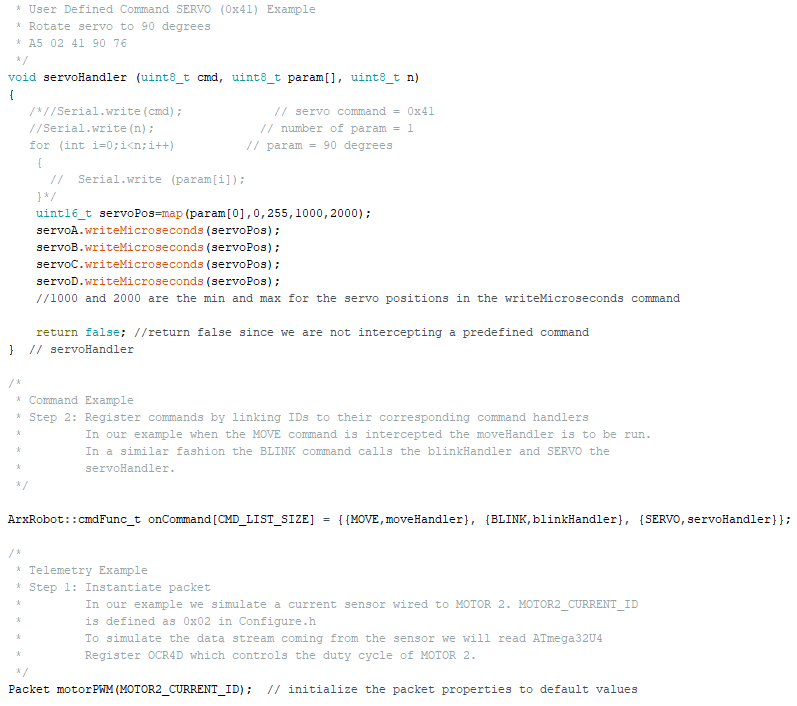
The two large sliders on the app determine the speed and direction of all 6 of our robot’s motors. The sliders can be unlinked to run them in different directions and with different speeds. The smaller slider above that determines the position of the servo. The servo command was created in the command section of the app. It is command 0x41 and is an unsigned 8-bit integer because that is the number of bits the servos needs to run. Our servos can move 90 degrees by completely moving the slider over to the right and moving it to the left will move them back to their original position. We chose a slider so that we could adjust how far the servos moved incase we wanted to move in a diagonal direction.
Figure 3: Arxrobot app
Code
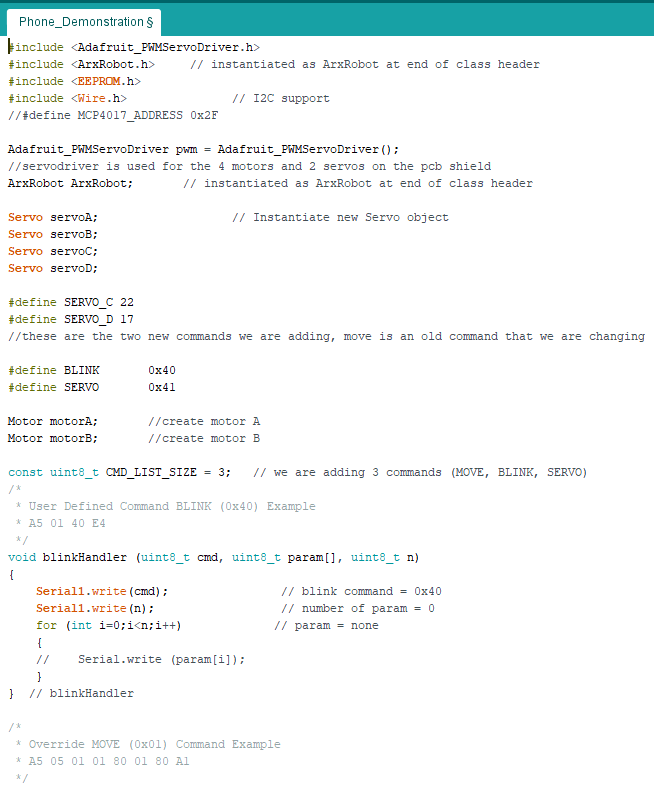
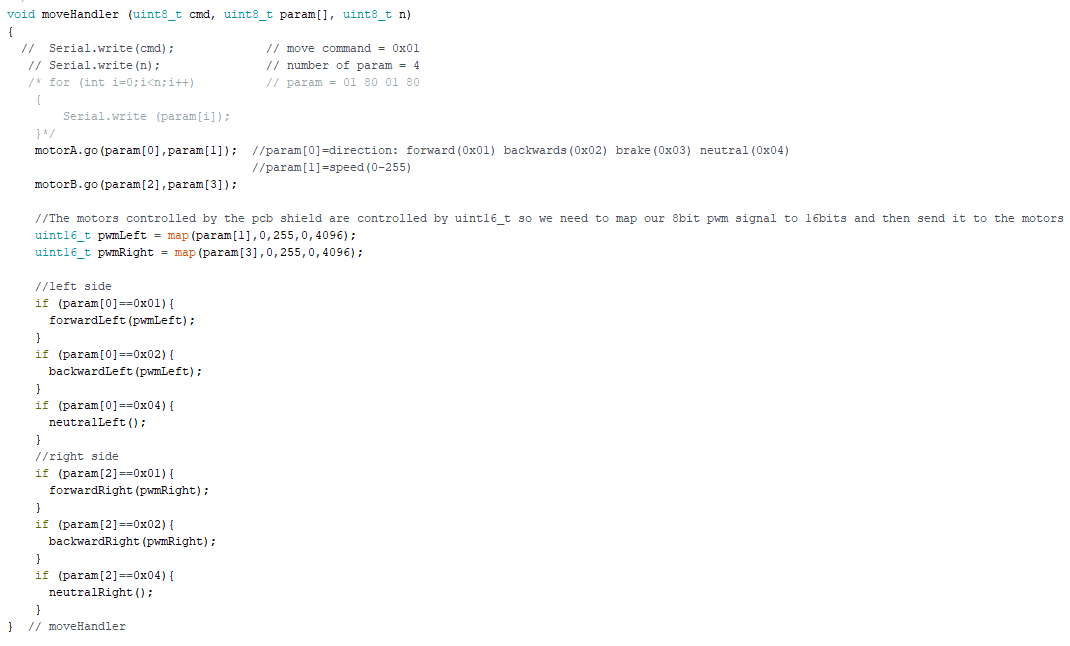
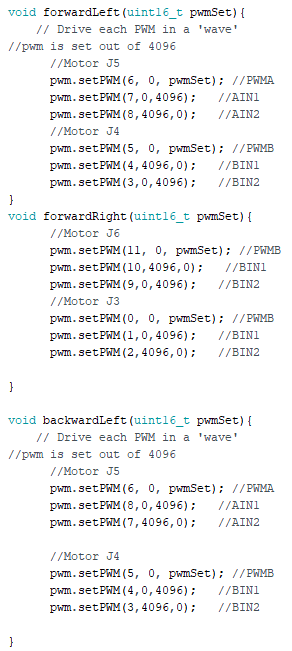
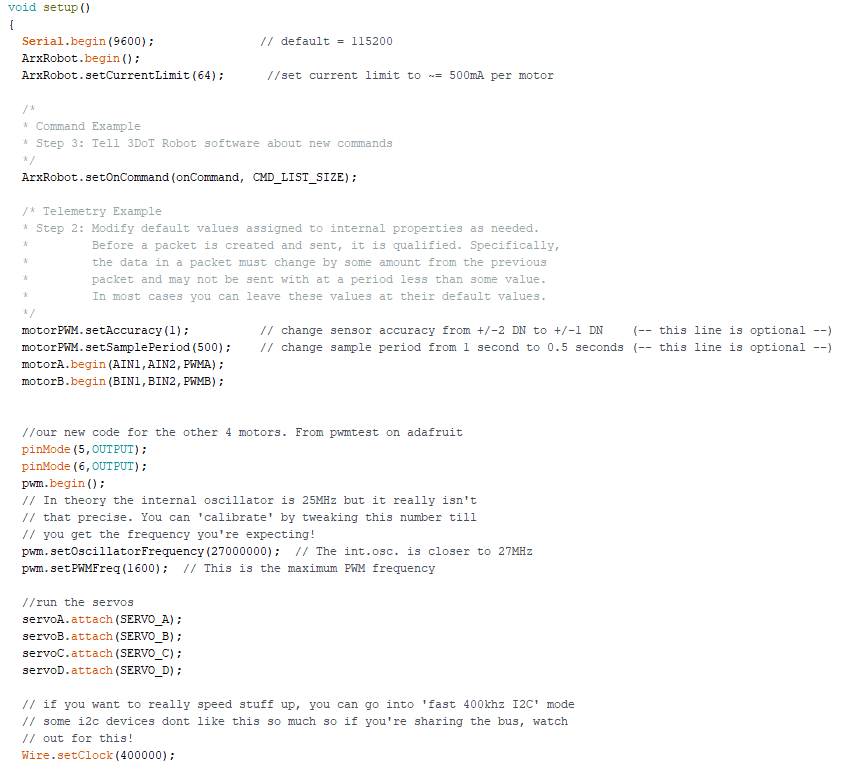
In our setup code we set the current limit for the 3DoT this is important because the motors and servos can go above the currentlimit. The motors use the most current when quickly switching direction while going max speed.
Troubleshooting
Before starting to work with the Arxterra app it is recommended to read through the getting started section on Arxterra. I would also recommend looking through the Arxterra libraries to have a deeper understanding on how to properly use them and to make sure your board is properly defined. We ran into issues with the servos, but were able to get them working with some help from Jaap from Arxterra, and we also weren’t able to get coolterm to work with the 3DoT, but were able to solve our software problems without it.
Conclusion
In conclusion, Sojourner can be run with the Arxrobot app providing commands to determine its direction. Sojourner’s DC and Servo Motors have been tested to work through basic Arduino inputs as well as setup for telemetry. This allow for an easy interface for the user.

