Gel Point Test Plan
By Omair Tariq
Scope
It was determined that agarose gel will be used as the “ink” for the 3-D bioprinter. Agarose gel was chosen primarily because of its low cost and its use as an overlay for cells in tissue culturing. [1]. The gel point is the temperature at which the gel mixture transitions from a liquid to a gel. The melting point is the temperature at which the mixture melts from a gel into a liquid. Agarose gel is special in that it has a different melting point and gelling point. The purpose of this test is to determine the gel point of agarose gel Type A0169 by Sigma Aldrich.
Equipment needed
|
Equipment |
Quantity |
|
Spatula |
1 |
|
Measuring balance accurate to a 100th of a gram |
1 |
|
900 Watt Hot Plate |
1 |
|
100 ml beaker |
1 |
|
50 ml graduated cylinder |
1 |
|
Glass thermometer (Range: 0oC-110oC) |
1 |
|
Agarose gel Type A0169 by Sigma Aldrich |
See Table 2 |
|
Distilled water |
See Table 2 |
|
Safety Goggles |
1 per person |
|
Latex Gloves |
1 per person |
Table 1. Equipment needed for Gel Point Testing
The amount of Agarose gel and Distilled water is to be determined by the desired gel concentration.
| Concentration | Agarose Gel Type A0169 (± 0.05g) | Distilled water ( ± 0.1 ml) |
| 1% | 0.50 g | 50.0 ml |
| 2 % | 1 g | 50.0 ml |
| 5 % | 2.5 g | 50.0 ml |
| And so on… |
| And so on… |
Table 2. Amount of agarose gel powder and water required to produce desired gel concentration for 3D bioprinter
For the purpose of the bio-printer the amount of distilled water is to be limited to 50.0 ml since the extruder is a 60 ml syringe. The maximum amount of water is limited to 50 ml rather than 60 ml to avoid spilling of the gel and consequently, the waste of valuable gel mixture.
Test Plan Instructions
Note: This test plan can be carried out to determine the gelling point of any concentration of gel. 1 % gel concentration was chosen randomly for this test plan.
- Put a 100 ml beaker on the weighing balance.
- Zero the balance so that the weight of the beaker does not hinder measurements.
- Use a clean spatula to put 0.50 grams of Agarose gel Type A0169 powder by Sigma Aldrich into the beaker.
- Measure out 50 ml of distilled water using a graduating cylinder.
- Pour the 50 ml of distilled water into the beaker containing the 0.50 grams of Agarose powder.
- Measure the weight of the solution using a measuring balance. It should weigh about 51 grams.
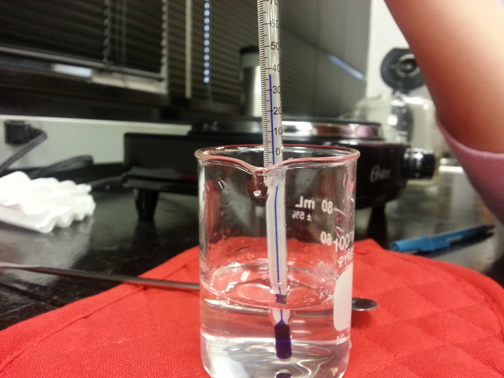
- Mix the solution using a Mercury-in-Glass Thermometer or a spatula.
- Put the beaker containing the mixture from Step 4 onto a hot plate.
- Bring the solution to a boil and let it boil for 5 minutes.
- At the same time, place the graduating cylinder filled with water on the hot plate.
- Reweigh the solution after boiling.
- Add enough hot water from the graduating cylinder, if necessary, to bring the total weight of the solution to 51 grams.
- Allow the mixture to cool. Mix the solution continuously until the solution reaches a temperature of 50oC. At this point, further mixing might lead to problems in accurately determining the gelling temperature of the solution. Observe the viscosity of the solution every 10o C until the solution reaches a temperature of 40oC. Once the solution has reached a temperature of 40oC, or when the solution starts to gel, the viscosity of the solution must be observed every 1oC.
- The viscosity is to observed using the following steps:
- Take a small amount of solution on the spatula,
- Raise the spatula about 12 inches above the beaker.
- Carefully, drop the solution by tilting the spatula.
- At the gelling point, the solution will have turned rubbery. If it is attempted to mix the gel at the gelling temperature, it will be observed that the gel will break into smaller pieces. The smaller pieces will not merge after sometime as they would if the gel was still a solution. This would not happen if the mixture were still a solution, thereby proving that the gelling point was reached.
Conclusion
By determining the Gel point, we will be able to determine the temperature that should be maintained in the extruder head. The extruder head should be kept at a temperature of 1-2 oC above the Gel point. If the extruder head is maintained at a temperature equal to or lower than the gelling temperature, extrusion cannot be performed accurately since the gel will only extrude as large chunks rather than flowing smoothly from the extruder head. Therefore, maintaining the temperature of the extruder head 1-2oC above the gelling point will enable smooth extrusion of the gel. The plate must be at a temperature lower than the gelling temperature so that the gel is able to hold its shape after extrusion.