Preparing Printed Parts
By Gregorios Rios – 3D Modeling
Our 3D mentor (Mike Pluma) provided the printed parts to be use on the new P3Steel design frame; which is very similar to that of the Prusa i3. All of the printed parts were printed out of ABS plastic because ABS is very sturdy and has a higher melting point compared to PLA plastic. When dealing with printed parts, there is a process that needs to be done on each part so that it can be installed properly into the frame. This can include parts that need to be cut off, sanded, trimmed or be drilled. Support material is part of the printing process that helps support material when being printed. This support material needs to be removed by cutting it off with a sharp blade and pliers for every printed part.
For most of the printed parts, M3 screws would not fit, so a drill was used to make them big enough to fit correctly. The drill was also used when there where opening that were too small and needed to be expanded. A Dremel could have been used but it is usually better for larger openings. When using a Dremel, being precise and cautious is very important. You do not want to ruin the part and have to spend more hours re-printing a replacement.
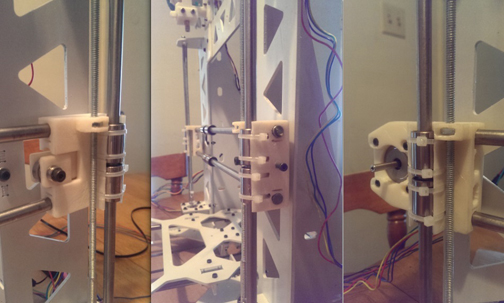
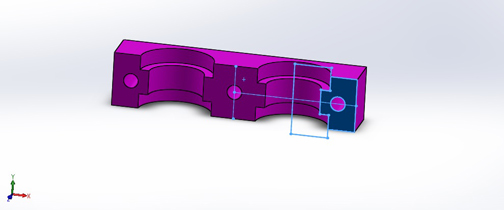
Both x-axis mount ends took longer than expected to get them prep to install into the frame. Apart from the above procedures done to them, all four opening for the smooth rods were too small and needed to be increased in diameter. This was done with a combination of a drill and the Dremel. The drill was used to make the diameter as big as possible without making it big enough for the rods to be loose, and the Dremel was used to grid off the hole evenly big enough for the rods to go in nicely snugged to avoid vibrations. When installing the rods, you have to be sure that you do not force the rods in too forcefully; this can split open the a-axis mount and ruin the x-axis mounts. The Dremel grinder was used to make enough room for the linear bearing to be put in the mounts. When installing the linear bearing it is very easy to break off the linear bearing walls. Just enough clearance for the bearing to go in is essential.
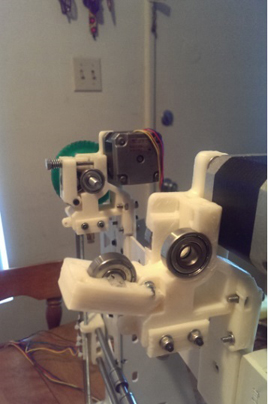
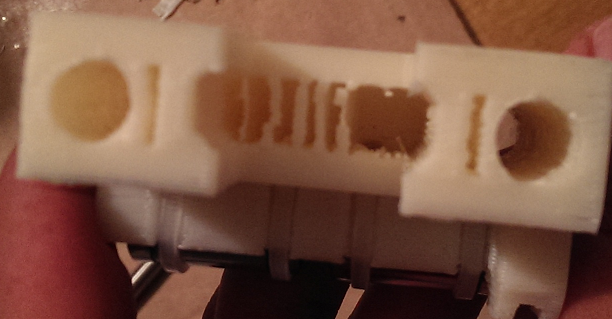
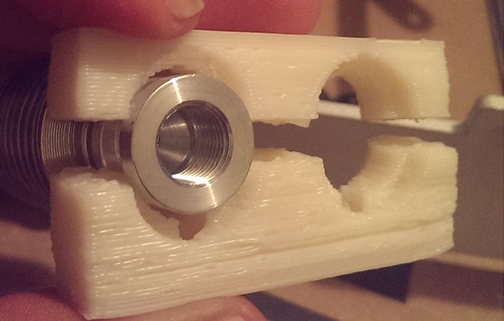
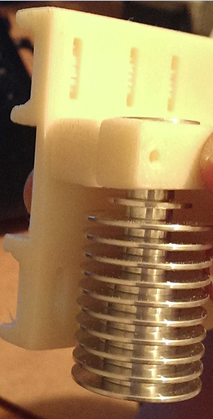
For both extruder and hotend clamps printed part also needed to be altered in order for bearing and screws. In order for 608 bearings to be installed, a Dremel with a round grinder was used to make sure the bearing fit correctly. E3D dual clamps that are attached to the X-carriage needed a good amount modification. Both the diameter and height of the inner walls of the clamp needed to be cut down in order to adequate installation with the E3D hotends. In the picture below you can see how it originally was and the end product.
There were times that parts needed to be replaced after being prepped and installed, but were replaced by better designed parts that in the long run will benefit Sasha’s reliability. Regardless of the time spent on the discarded parts, it will reach our goal of providing an overall better quality printer.
All these steps were done to several of these parts: