Building the UFO 1.02 (Code Name: George Michael)
By Tuan Vo, Project Manager
For this new build, we are shooting for a perfect looking UFO with all the right curves and moves. To do this, Juan Montano uses his extreme Solid Works skills to import the skills to create a working prototype of this UFO. From the dimensions of a 2D picture of the UFO into the third dimension. From this 3D model, Tuan Vo, the project manager, will use his extreme 3D printing prototype, we will be making a mold from which different material models can be created to produce great looking UFOs.
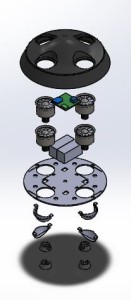
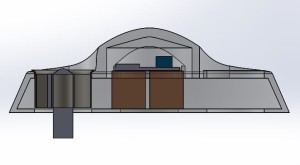
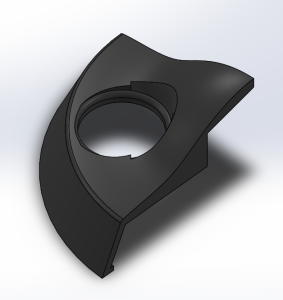
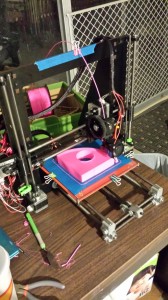
Tuan Vo’s 3D printer has a 200mm by 200mm base. The UFO is too big to print out in once piece, so we will have to slice the model into four quarters. The model consists of a shell, a bottom plate, adjustable vents, and feet.
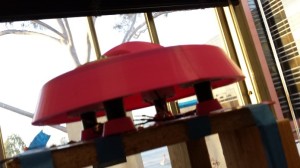
A quarter of the shell. The fan mounts directly into this shell.
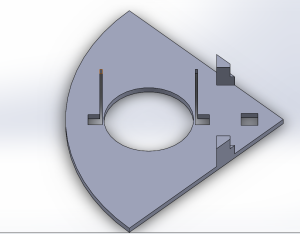
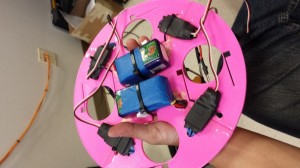
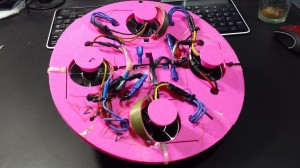
The base will also be 3D printed with slots to mount two new vents. The base will also be 3D printed and all the battery and electronics will mount on this base.
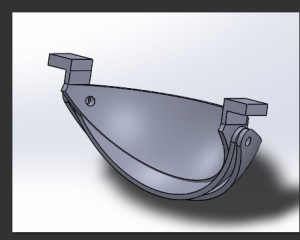
This is the new vent/air deflector. This will create a clockwise torque by forcing air in a desired direction. For more information, see Juan Montano’s blog on air vents.
Because of time constraints, we won’t have enough time to make a good mold of this UFO and make any reliable casts. Instead, we will be printing the UFO at 0.2 infill and use PLA 3D printed parts for the whole UFO. Infill of 0.2 means the prototype will only be 20 percent of a solid model. The base holds all the electronics inside its compartment. The foot at the bottom of the motor is necessary because the bottom of the motor has exposed mechanical compartment. After we glued the top shell together, it was very lightweight and has enough support for actual flight. To secure the pieces together, we use epoxy bonds and superglue. The electrical components are secured using zip ties. The bottom and top piece will be secured together either by zip ties or steel safety wire.
| Advantages of using 3D printed parts | Disadvantages |
| Precise and aesthetically pleasing | Slightly heavier |
| Able to print intricate designs | Need a 3D printer |
| Plastic can be used to make mold later on | Production takes a long time |
| Sturdy depending on infill level | 3D printed parts might not glue together perfectly |
For later generations of UFO, we will be looking to make a mold of the model and use lighter material such as carbon fiber or fiberglass.
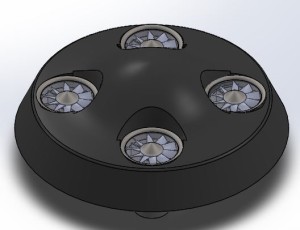
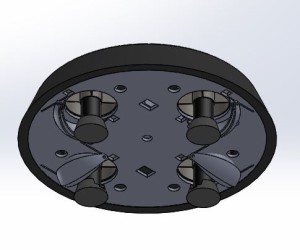
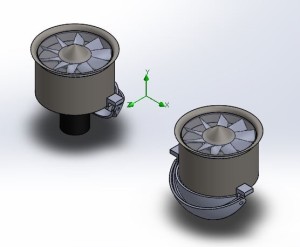
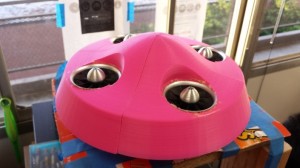
In the end, we have this:
Note that from the bottom, we are only using two vents. This is because to counteract the torque, we only need two. Also we want to simulate as close as possible the opposing pairs of CW and CCW spinning fans in a quad copter setup. From the top down we observe the fan blades spinning CCW; this makes the body of the fan, and the whole UFO, want to spin CW. We negate this by forcing the air in such a way that will add a CCW force to the whole UFO.
The electronic setup is not included in this picture because this UFO technology is highly classified, and not because we forgot to take pictures before closing the two compartments together.
The end result of this build is not that much heavier than the last generation’s UFO Abducted. We will want to eliminate as much material as we can in Solid Works by making walls thinner and printing at 0.1 infill should be more than enough to create a lightweight plastic model that will lift off at the desired amount of thrust. Although this prototype, the George Michael, feels heavy, most of that weight comes from the battery and the fans themselves. We achieved liftoff on first run. Observe in the video.
https://www.youtube.com/watch?v=_Mr3EYFReeo

