Goliath Fall 2016
Arxterra Control Panel
By: Diana Nguyen (Missions, Systems, and Test Engineer)
Approved by Kristen Oduca (Project Manager)
Introduction
Requirements: Goliath will be the “eyes” for the Biped by providing a live video feed of the game.
To provide a live video feed, are using the 3Dot board and the Arxterra App and Control Panel camera feed. Below are instruction on how to log into the application and panel so that the same user can connect the camera and computer through wifi.
Instructions
For live streaming Goliath will be using the Arxterra App and Arxterra Control Panel. We used a phone and a computer. Both Goliath and Biped will both have access to the video feed and be able to message each other. The Arxterra Control Panel can be accessed here (http://cp.arxterra.com/#). Clicking this link will give you the image in Figure 1.
On this page the user will be able to input a login name and password. It is only necessary to input a name. However, it is still necessary to remember the name in order to use the same name on the Arxterra Application.
On the App click on the icon next next to the camera icon which allows the user to pick a control mode. In order to activate the camera feed, “Community” was selected from the drop down menu. This then takes you to the login page. On this page, we entered the robot’s name and enter the same name for the pilot that was used in the Control Panel. If two people want to share the Control Panel, put a comma in between the names. Once logged in, we clicked on the camera icon. This shows a switch for the monitor. To turn the camera on, we clicked the switch. This is shown in Figure 2 below.
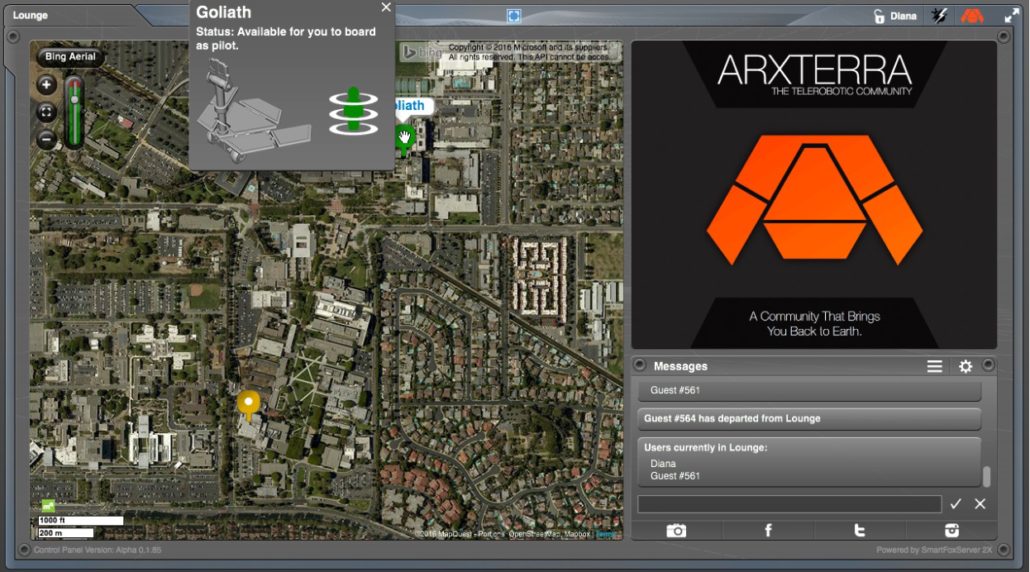
The robot is now activated. The user can go “on-board” the robot on the Control Panel. Going back to the Control Panel the robot is located on the map as a green push pin. Click on the pin and click the human figure to go “on-board” the robot shown in Figure 4.
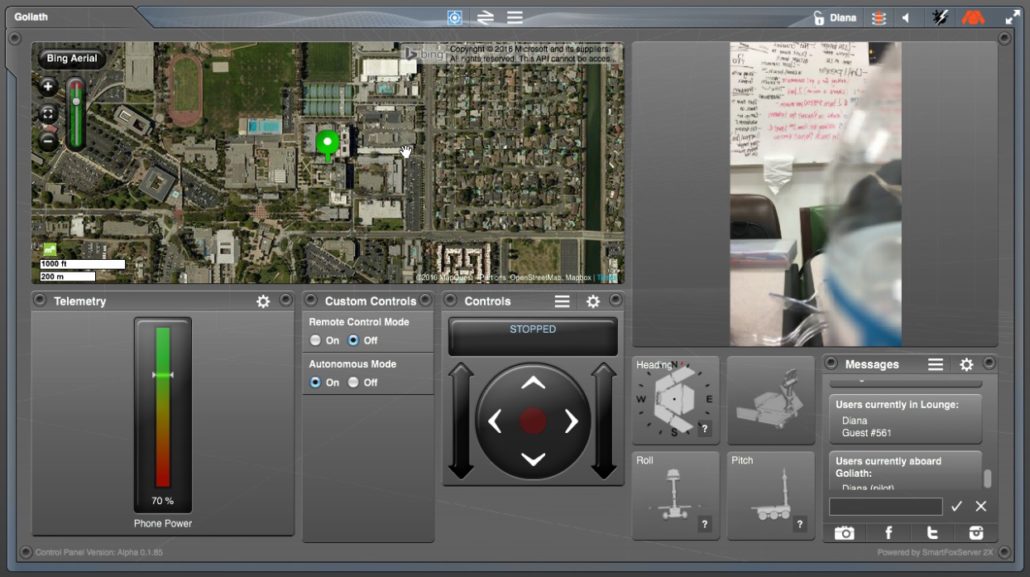
Once on board the user can view the camera feed and different setting about the robot. Here the user can see telemetry and custom controls. In addition, if multiple people are on-board the same robot they can communicate with each other though the built-in chat. Figure 5 shows a screenshot of a user “on-board” a robot.
Conclusion
Now we are able to view our camera feed from the the same of different user. Multiple people can be onboard a same robot and chat with each other in the message box. With connecting through wifi there is no telemetry or custom commands


