Tutorial on Fast Pulse Width Modulation
/in 3Dot Getting Started Guide, E&C - MCU Subsystem Command Programming, E&C Resources/by Mark HuffmanProgramming Your Robot & Custom Telemetry
/in 3Dot Getting Started Guide, E&C - MCU Subsystem Command Programming, E&C Resources/by Mark HuffmanViewing Command and Telemetry Packets
/in 3Dot Getting Started Guide, E&C - MCU Communication and Telemetry Firmware, E&C Resources, MST - Arxterra/Programing, MST Resources/by Mark HuffmanCommands and Telemetry Behind the Scenes
/in 3Dot Getting Started Guide, E&C - MCU Communication and Telemetry Firmware, E&C Resources, MST - Arxterra/Programing, MST Resources/by Mark HuffmanArxterra – Custom Commands and Telemetry
/in 3Dot Getting Started Guide, E&C - MCU Communication and Telemetry Firmware, E&C Resources, MST - Arxterra/Programing, MST Resources/by Mark HuffmanArxterra – Built-in Commands and Telemetry
/in 3Dot Getting Started Guide, E&C - MCU Communication and Telemetry Firmware, E&C Resources, MST - Arxterra/Programing, MST Resources/by Mark HuffmanGetting Started With the ArxRobot App and Control Panel
/in 3Dot Getting Started Guide, E&C - MCU Communication and Telemetry Firmware, E&C Resources, MST - Arxterra/Programing, MST Resources, Training/by Mark Huffman3Dot Advanced Lab
/in 3Dot Getting Started Guide, E&C - MCU Subsystem Command Programming, E&C Resources, Training/by Mark Huffman
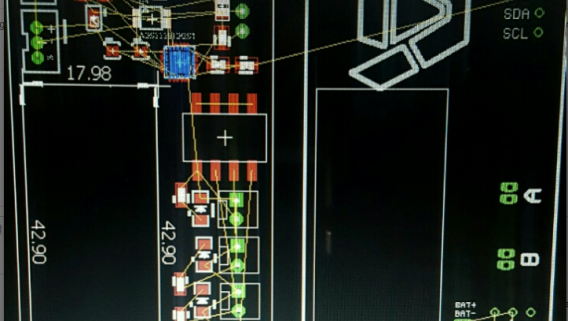
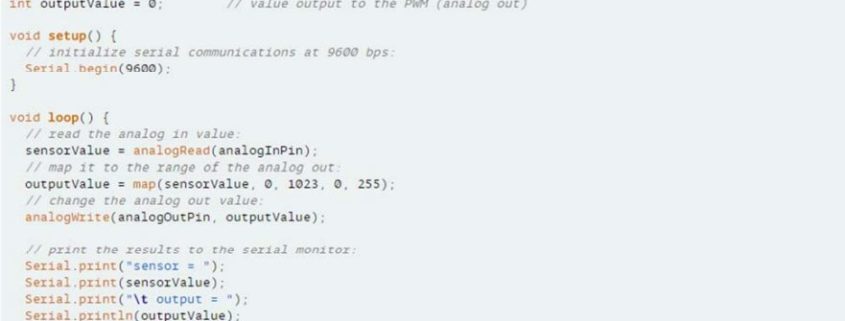
In the “Blink” example the frequency at which the LED blinked was controlled by the calls to the delay function. In this lab a potentiometer is used to increase and decrease the duty cycle of an external LED. Concepts introduced in this lab include wiring an external circuit to the 3DoT I2C connector, plus Arduino […]