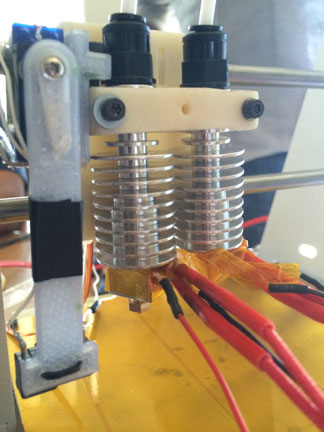
E3D Hotends Assembly
By Jessica Salazar – 3D Manufacturing
Components:
-Thermal Cartridge
-Thermistor
-M3 grub screw
-Heat block
-Heatsink
-Heat-Break
-Modified Fan Mount
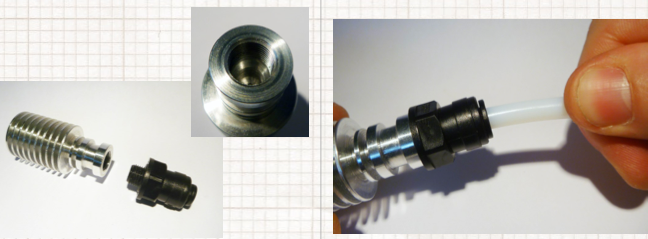
-Tube coupler
Step1:
The Bowden tube coupler screws directly into the top of the heatsink.
Step2:
Screw the coupler into the heatsink, then push the tubing into and through the couple until it stops
Step3:
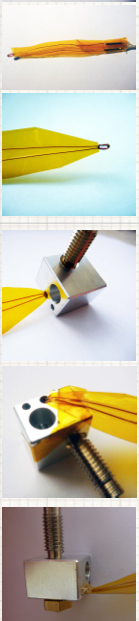
Insulate the thermistor legs with kapton tape up to the base of the glass bead. All bare wire should be covered
Step4:
Thermistor goes into the small hole the side of the heater block
(it is secured by kapton tape)

Step5:
Place the heater cartridge into the smooth hole on the heater block; a small amount should be poking out each end. The M3 grub screw secures it.
Step6:
Screw the heatsink onto the long end of the heat break.

Step7:
Place the heatsink into the printed fan mount. Screw down and secure the fan to the printed fan mount.
Step8:
Final step- using software heat the now complete hot end up to 290C, then once up to temperature you need to do a final tightening of the nozzle against the heat break to form a good seal. This prevents any plastic leaking.