Experiment: LiDAR Lite
By Jose Alcantar, Electronics and Controls Engineer
Introduction
The LIDAR is a laser range finder which can measure distances of up to 40 meters with an accuracy of ±2.5 cm. The device can be used via I2C interface or through pulse width modulation. The LIDAR is to be implemented onto the pathfinder for the use of obstacle detection and avoidance requirement.
Wiring Diagram:

For testing purposes the LIDAR was wired as shown by the wiring diagram. An Arduino Uno was used using the SCL and SDA I2C pins.
Purpose:
The purpose of this experiment is to calculate and test the field of view of the LIDAR sensor and to test sunlight interference.
Procedure:
An object was placed 0.5 meters away and directly in front of the sensor. The center point of the object was marked and moved in increments of about 0.5 cm to the left until the sensor no longer detected the object. This point was marked and the object was once again replaced to the center and moved in increments of 0.5 cm to the right of the sensor. When the sensor no longer detected the object, the position was marked. The beam diameter was calculated based on the distance between the two points. Using the same method, the experiment was repeated at 1 meter then 1.5 meters.
The LIDAR was tested outside in sunlit conditions to observe the interference of sunlight on the sensor. The sensor was pointed at various objects and the data was observed for any interference.
Results:
The beam diameter was calculated for each of the test runs. At 0.5 meters, the diameter of the beam was well within the mm range. At this distance, the diameter of the beam was about 15 mm. At 1 meter, the calculated beam diameter was about 16 mm. At 1.5 meters, the diameter of the beam was about 2 cm.
Using the LIDAR outside showed no obvious interference. Although, pointing the sensor at different objects with various reflectivity did have some effect on the data. The sensor did have less accurate results on objects with more reflective surfaces.
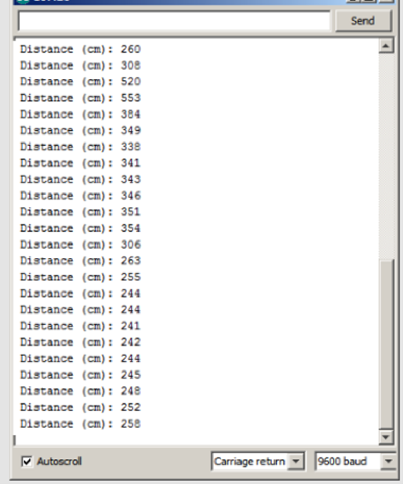
The following table is an example of the output from the serial port on Arduino IDE.