Getting Started With the ArxRobot App and Control Panel
Table of Contents
Arxterra Operating Modes
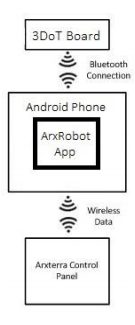
The Arxterra suite has the ability to operate in three modes: Autonomous, Remote Control (RC) and Community modes. The objective of this chapter is to configure your smartphone and PC to communicate with the Bluetooth module on the 3DoT board.
Autonomous: No Bluetooth connectivity is needed to operate the 3DoT in autonomous mode. Simply program as you would an Arduino using a micro USB cable.
Remote Control: In RC mode, the robot is piloted through the ArxRobot application and is not located on the robot. Communication takes place via Bluetooth between the Android or iPhone phone and the 3DoT Board. The Arxterra Control Panel is not present when operating in RC mode.
Community Mode: In community mode, the Android or iPhone phone is carried by the robot and communicates wirelessly via client‐server architecture with the computer. The phone relays commands and telemetry to and from the 3DoT board while piloting is done through the Arxterra control panel.
The following sections provide step‐by‐step instructions on installing and operating the applications needed to operate the robot in the RC and community modes of operation:
Figure 3.1: Modes of Operation
Download the Axterra App
Step 1: Ensure the ArxRobot_Basic sketch is uploaded to your robot (see Getting Started – Initial Arduino IDE Setup)
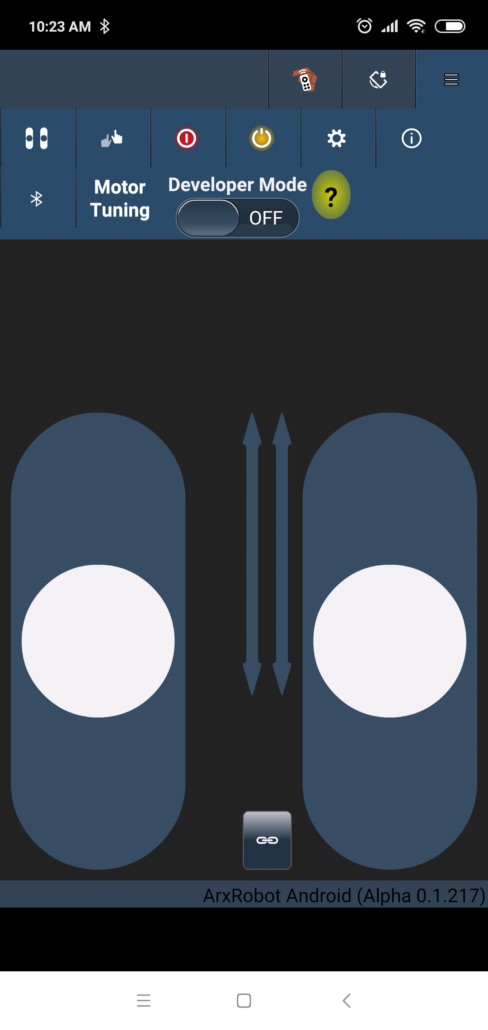
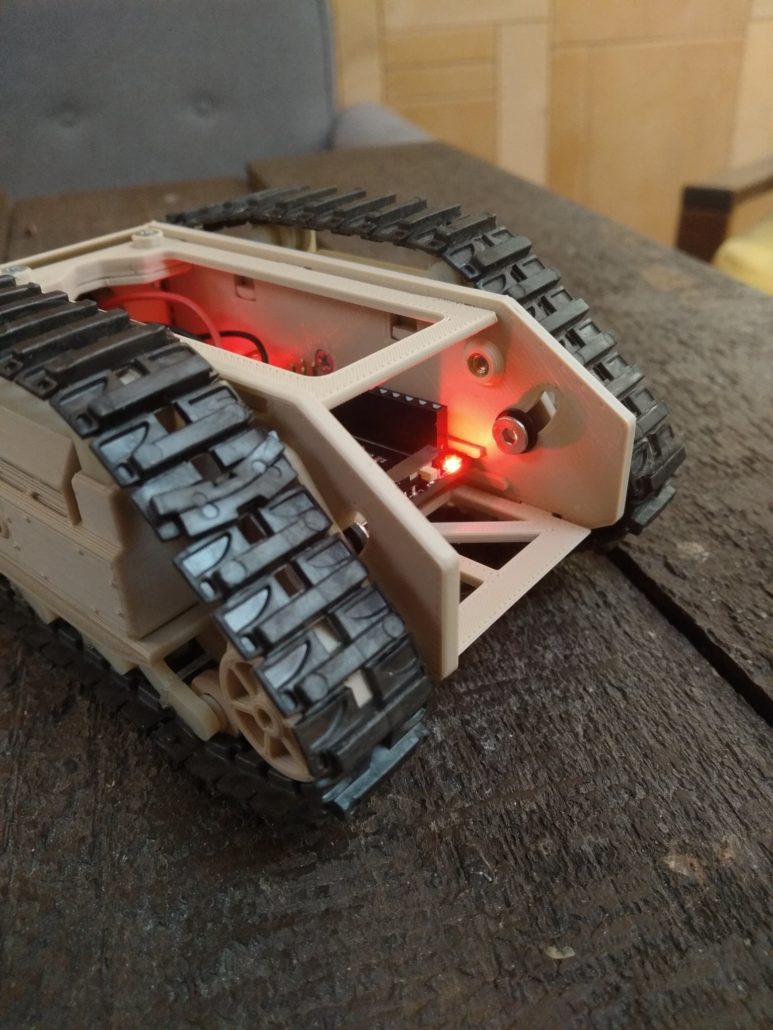
Step 2: Turn on the 3DoT and load up the app
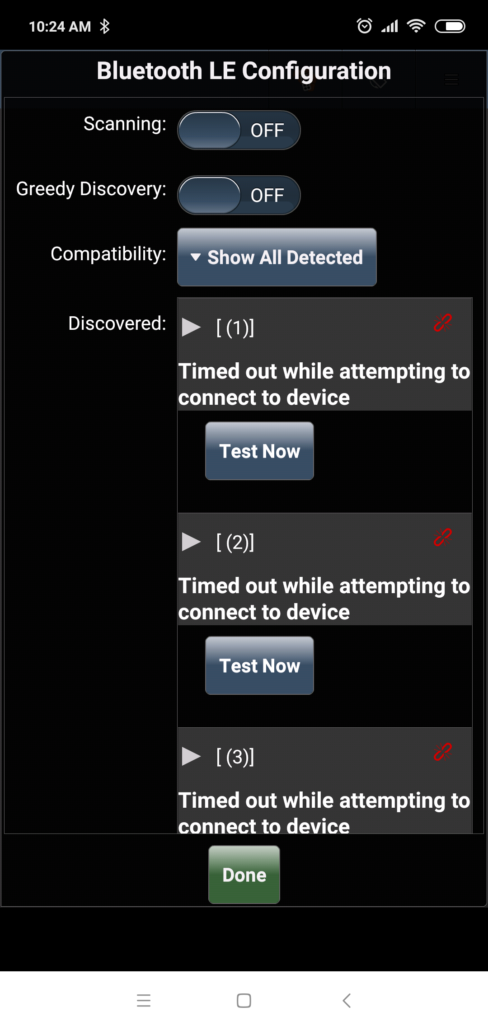
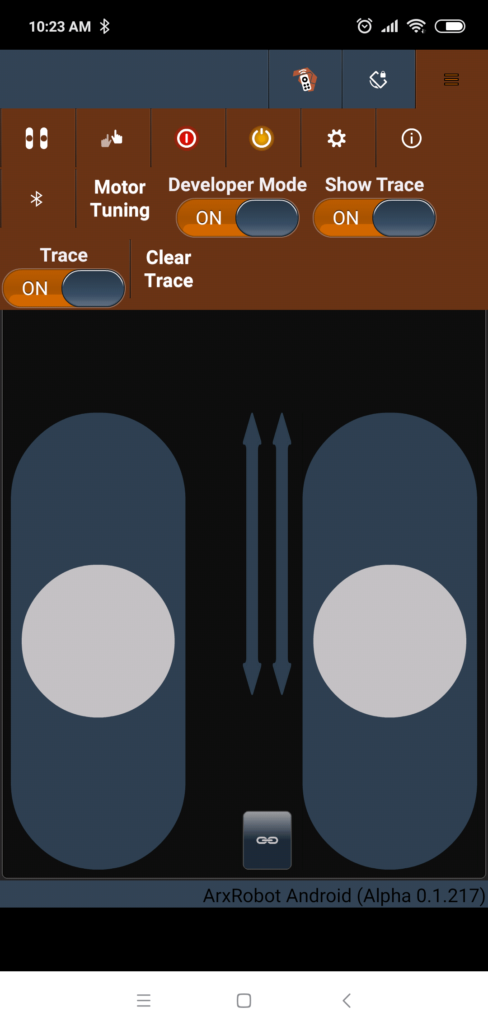
Step 3: If it hasn’t already popped up automatically, open up the bluetooth menu by tapping the menu icon, and then the Bluetooth icon.
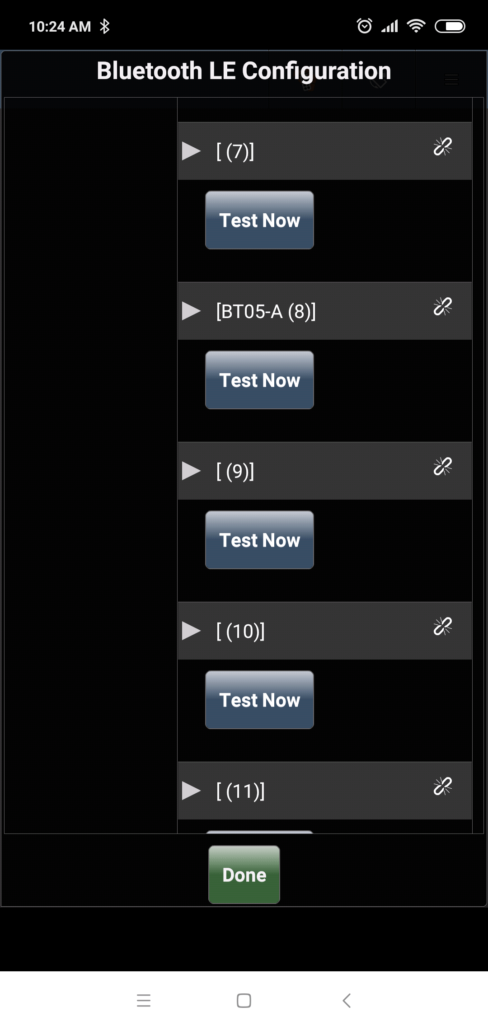
Step 4: What you see here will vary. In my case, there are a lot of devices the app can’t connect to. Under “Compatability”, choose “Show All Detected”, and scroll down to find the name of your 3DoT Bluetooth Module.
Step 5: Tap “Test Now” to attempt to connect to the 3DoT.
Please be patient while the app finishes scanning all Bluetooth devices and connects to the 3DoT. You may need to tap “Test Now” again if it fails at first. The less unrelated BLE devices are near you the faster this process will be.
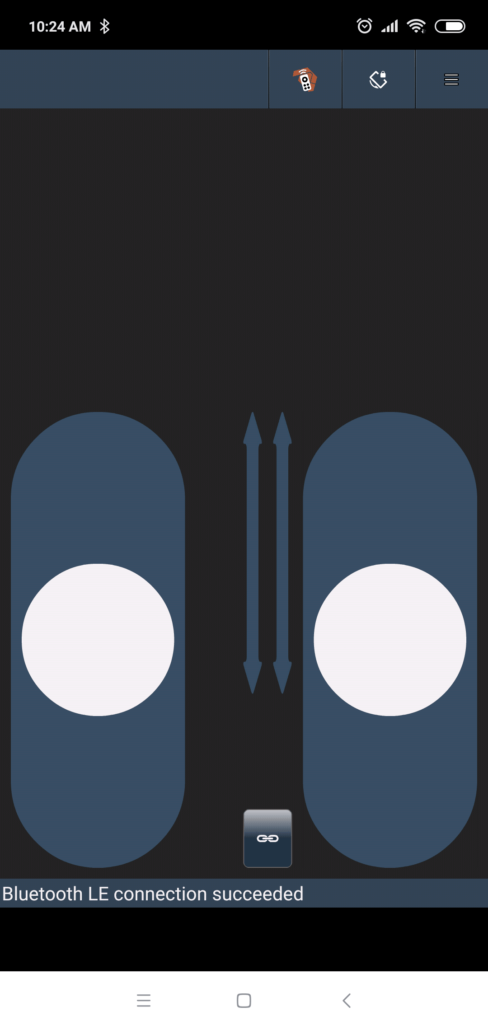
Step 6: Once you successfully connect to the 3DoT, the Bluetooth menu should automatically close and you are ready to control your robot!
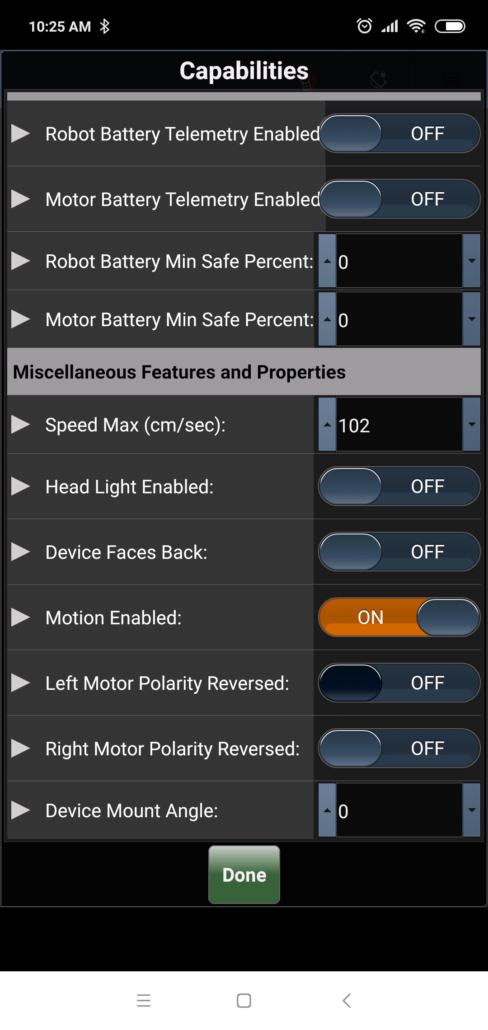
Tip: If one of the directions of your motors is reversed, you can easily fix this through the app! Just turn on developer mode:
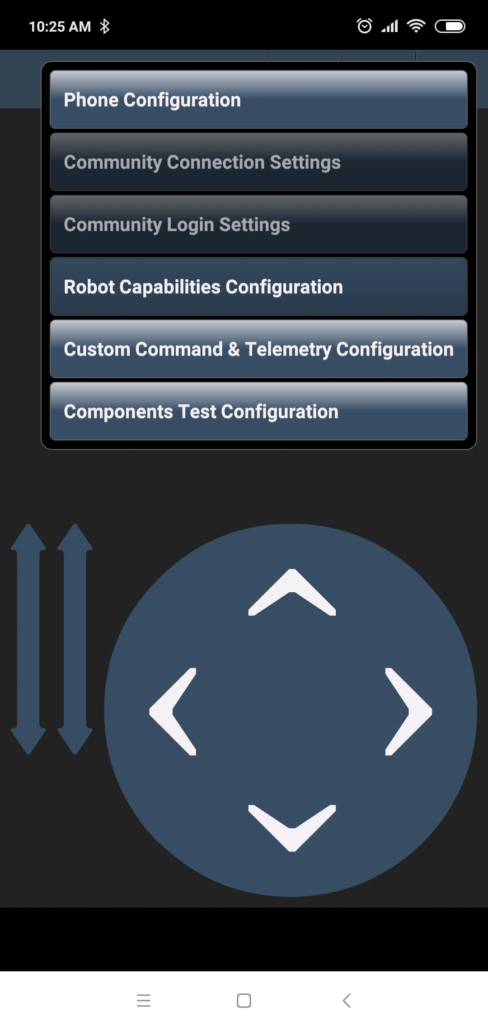
Tap the gear icon, and choose “Robot Capabilities Configuration”, then scroll down to reverse one of the motor polarities.
Register for an Arxterra Account
First set up an account here on arxterra.com using the register tab under “My Account”.
Figure 3.2: Select “Register” from “My Account” tab.
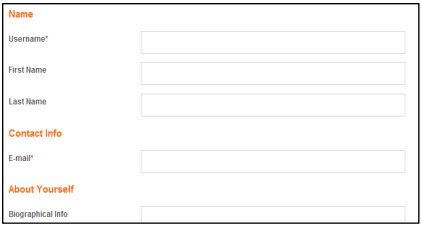
The username provided on the registration page will be required by the Arxterra application and control panel. Fill in the fields shown in Figure 3.3.
Figure 3.3: Generation of username and inputting contact information.
Community Mode: Connecting Through the Control Panel
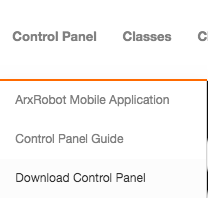
If you have not done so already create an Arxterra Account using the previous section. Using the navigation tab above pan over “Control Panel” and click “Download Control Panel” as shown in Figure 3.13.
Figure 3.9: Select “Download Control Panel” from “Control Panel” tab.
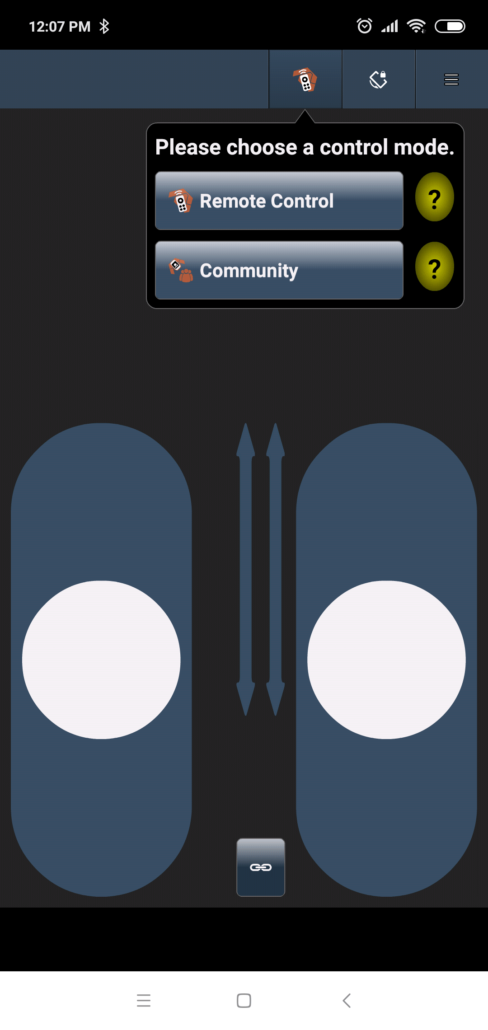
Step 1: Tap the Mode select button in the ArxRobot App and select “Community”.
Figure 3.10: Mode select on the ArxRobot App
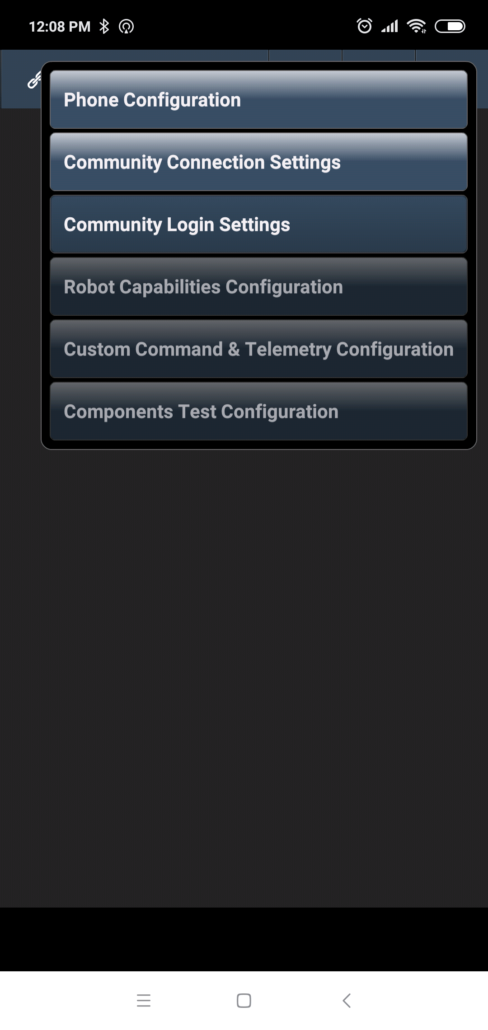
Step 2: In the menu, tap the settings gear icon, and select “Community Login Settings”.
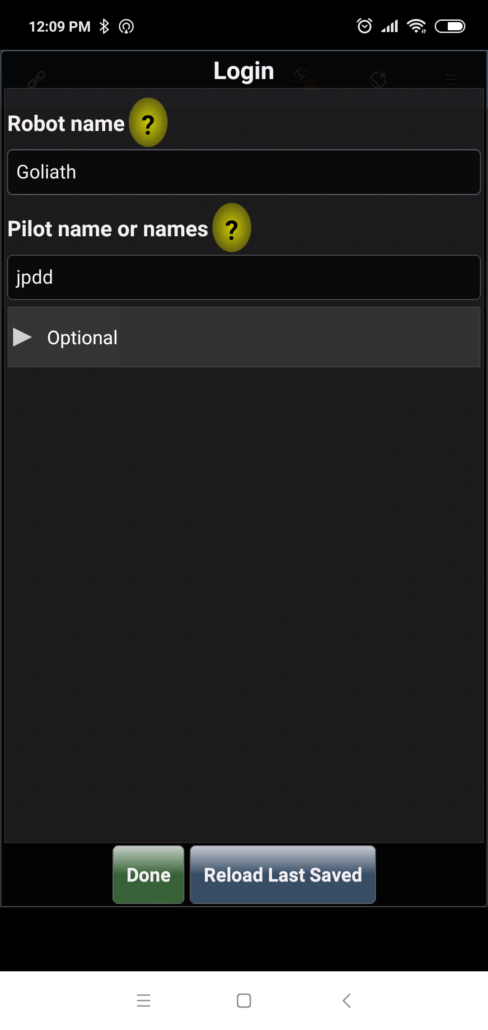
Set the Robot name to whatever you like and set the Pilot name to match your Arxterra username exactly.
Figure 3.11: Opening Community Settings
Figure 3.12: Enter robot name and Arxterra username
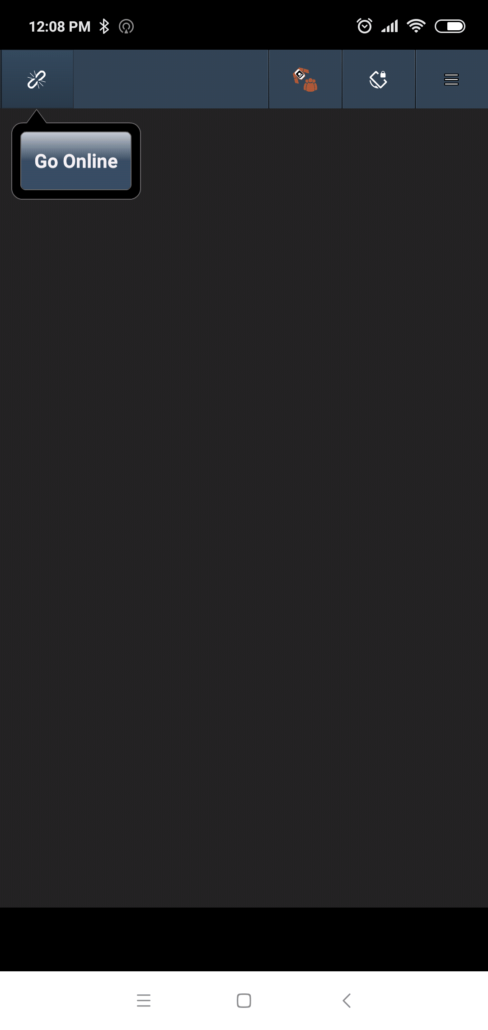
Step 3: Tap the “Go Online” Button
Figure 3.13: Going Online!
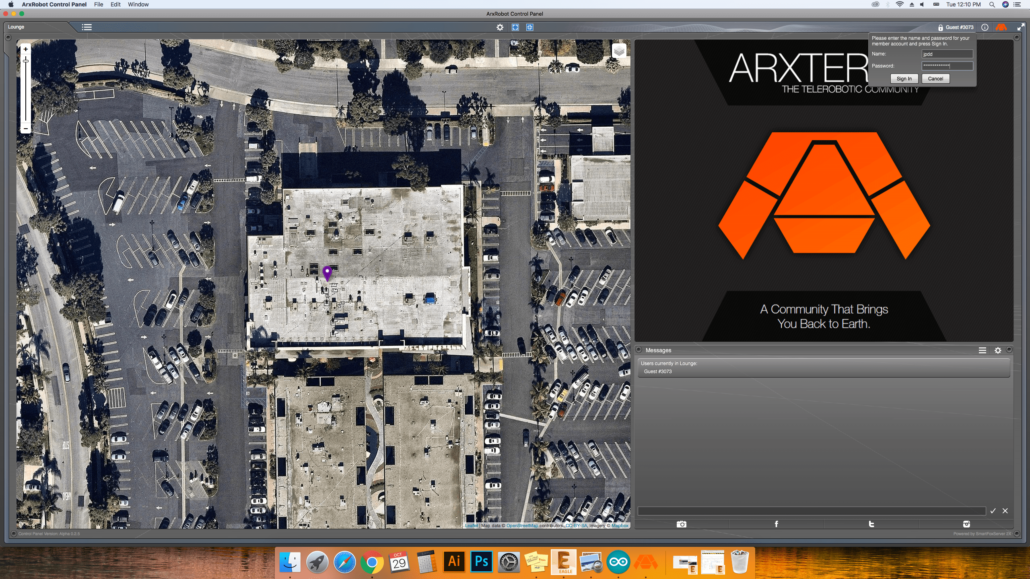
Step 4: Open up the ArxRobot Control Panel on your computer and enter your login info in the top right
Figure 3.14: Login using your Arxterra username and password
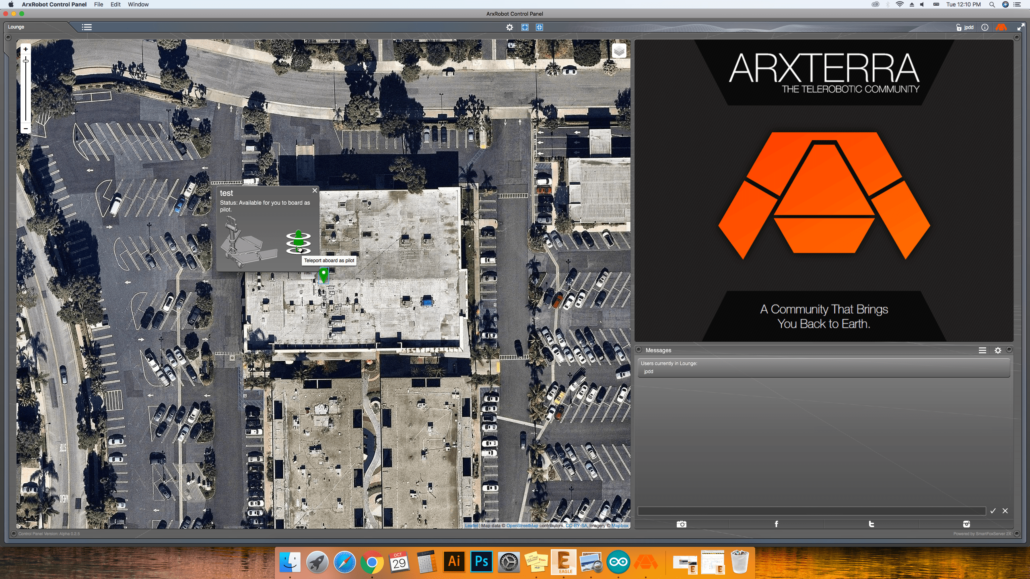
Step 5: Find your robot pin on the map and click the green person to beam in!
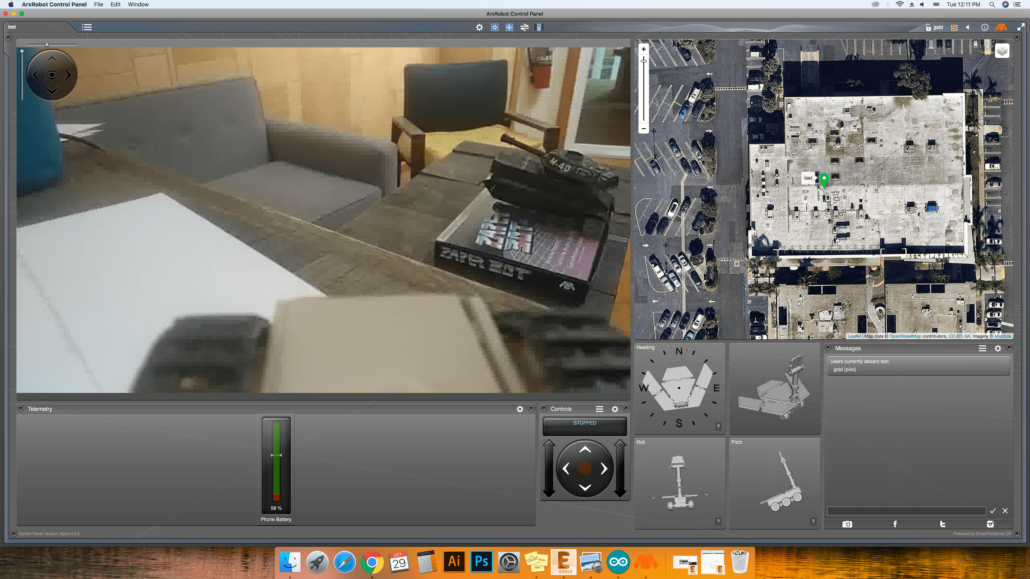
Use the controls to move your robot. See the advanced guides for info on how to add your own additional controls and telemetry.
Figure 3.14: Here we go!
Figure 3.14: Here we are! Not much telemetry data coming in yet.
Common Issues Getting Started
The ArxRobot App won’t load/hangs at startup:
This means the app is struggling to obtain the permissions required to run. Navigate to your phone’s app permission settings and give the ArxRobot app all the permissions you can.
I’m having trouble connecting to the 3DoT
Usually, you just need to wait a bit longer to allow the app to retry connecting to the 3DoT. If you have waited long enough and it still doesn’t work, turn off the 3DoT, close the ArxRobot app completely, turn your phone’s bluetooth off and repeat the connecting process. Other devices may be interfering at first, but eventually you should always be able to connect.
I’m connected but the controls don’t do anything/my robot’s motors stopped
First, make sure your battery is fully charged and you have not drained it below a safe level (~3.3V). Draining the battery too low will permanently damage it and will likely cause it to not be able to supply enough power for the motors.
Next, let’s make sure the motors you are using are compatible and working by uploading a simple sketch that runs them. Copy and paste the follow sketch to the arduino IDE, upload it and run it.
Show Example for 3DoT 9.05 and older
#define PWMA 6
#define AIN2 4
#define AIN1 12
#define PWMB 10
#define BIN1 9
#define BIN2 5
#define STBY 8
void setup(){
pinMode(PWMA, OUTPUT);
pinMode(AIN2, OUTPUT);
pinMode(AIN1, OUTPUT);
pinMode(PWMB, OUTPUT);
pinMode(BIN1, OUTPUT);
pinMode(BIN2, OUTPUT);
pinMode(STBY, OUTPUT);
}
void loop(){
digitalWrite(STBY, HIGH);
digitalWrite(AIN1, LOW);
digitalWrite(AIN2, HIGH);
digitalWrite(BIN1, HIGH);
digitalWrite(BIN2, LOW);
analogWrite(PWMB, 150);
analogWrite(PWMA, 150);
}
Show Example for 3DoT v9.1+
#define STBY 4
#define AIN1 6
#define AIN2 9
#define BIN1 10
#define BIN2 5
oid setup()
{
pinMode(AIN1, OUTPUT);
pinMode(AIN2, OUTPUT);
pinMode(BIN1, OUTPUT);
pinMode(BIN2, OUTPUT);
pinMode(STBY, OUTPUT);
}
void loop()
{
digitalWrite(STBY, HIGH);
analogWrite(AIN1, 150);
analogWrite(AIN2, 0);
analogWrite(BIN1, 0);
analogWrite(BIN2, 150);
}
Turn your 3DoT on to find out if the motors will run.
Next, make sure you have the ArxRobot_Basic sketch uploaded to your board. If you you are using your own code, upload the ArxRobot_Basic sketch to find whether the issue is your code or the robot.
If your motors run fine and you have the correct code uploaded but the motors won’t run with the app, you likely need to set the right current limit for your motors. To do this, simply add the line:
ArxRobot.setCurrentLimit(N); // set current limit to …
to the setup portion of your code, changing N to a number between 1-128 to set the current limit. Usually a value around 60 is correct. You can experiment with different values or see Programming the 3DoT Current Limiter for more info.

