Goliath IR Shield – Getting Started
Woohoo! You scanned the Goliath IR Shield; here’s how to get started.
Overview
For a more in depth-explanation of how infrared (IR) sensors work, and a good example of how to use them in a professional setting, see Lab 0 from Professor Gary Hill’s C++ Robot Classes.
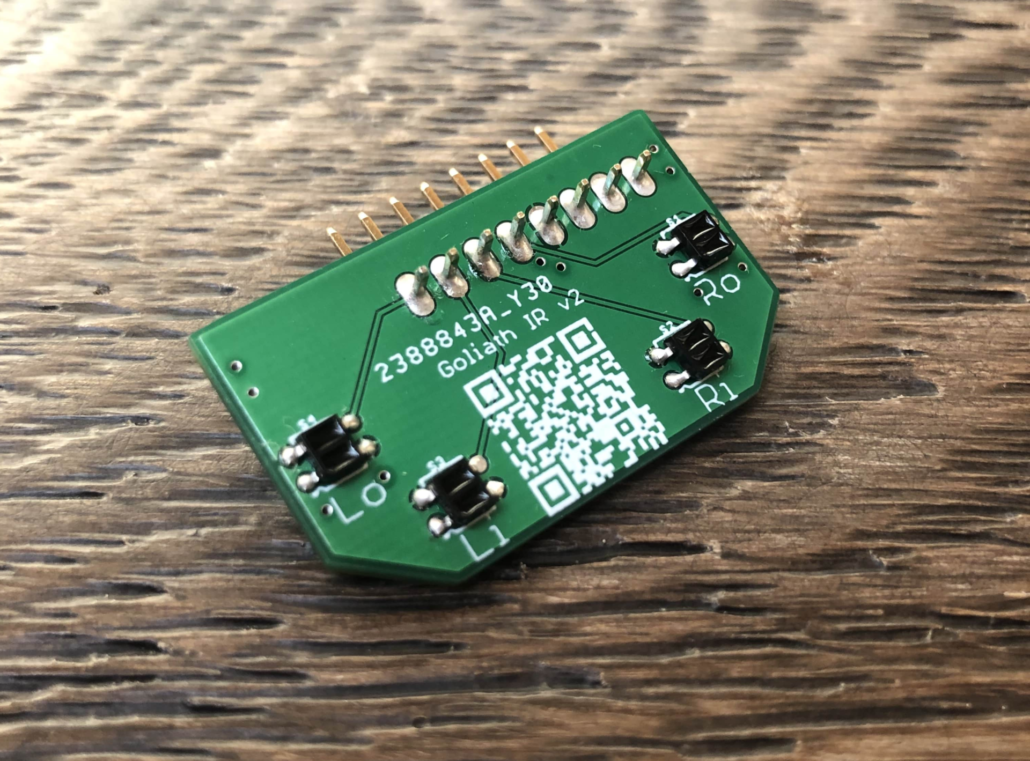
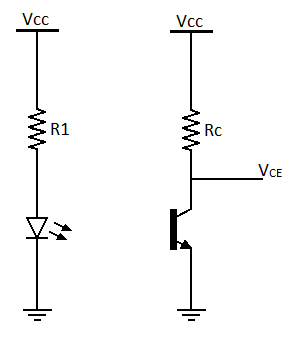
For this tutorial, however, we just need a basic understanding of how the sensors work. On each of the four sensors on your shield you will see two small windows. One is the IR emitter and the other the IR receiver. Here is what a schematic of the sensor would look like – an IR emitting diode on the left, and a phototransistor made to sense IR wavelengths on the right.
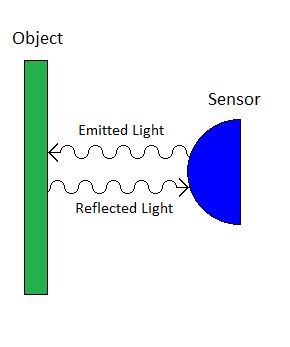
The infrared diode is constantly emitting IR light. This light is invisible to the human eye, but you can see it through the front camera of most phones! (The rear camera often has an IR filter).
The voltage on one of the microcontroller pins then varies as the amount of IR light received by the phototransistor varies. In the next section, we’ll make the microcontroller take a reading of that voltage and display it to us.
Taking a Reading
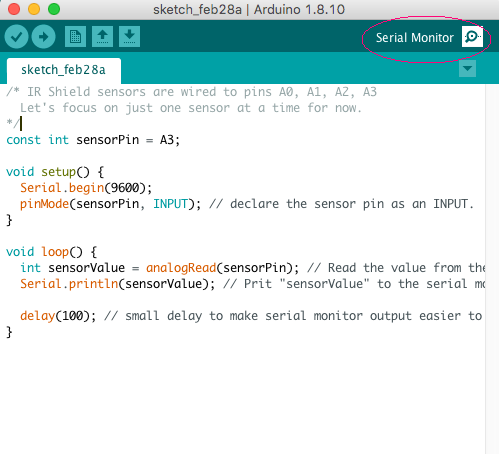
Paste or type the following code into a fresh Arduino sketch and upload it the 3DoT:
/* IR Shield sensors are wired to pins A0, A1, A2, A3 * Let's focus on just one sensor at a time for now. */
const int sensorPin = A3;

void setup() {
  pinMode(sensorPin, INPUT); // declare the sensor pin as an INPUT.
}

void loop() {
  int sensorValue = analogRead(sensorPin); // Read the value from the sensor and store it in variable "sensorValue".
  Serial.println(sensorValue); // Print "sensorValue" to the serial monitor.
  delay(100); // small delay to make serial monitor output easier to read.
}
Next, switch the 3DoT to ON, and make sure the board is still selected under Tools -> Port.
Open up the Arduino Serial Monitor
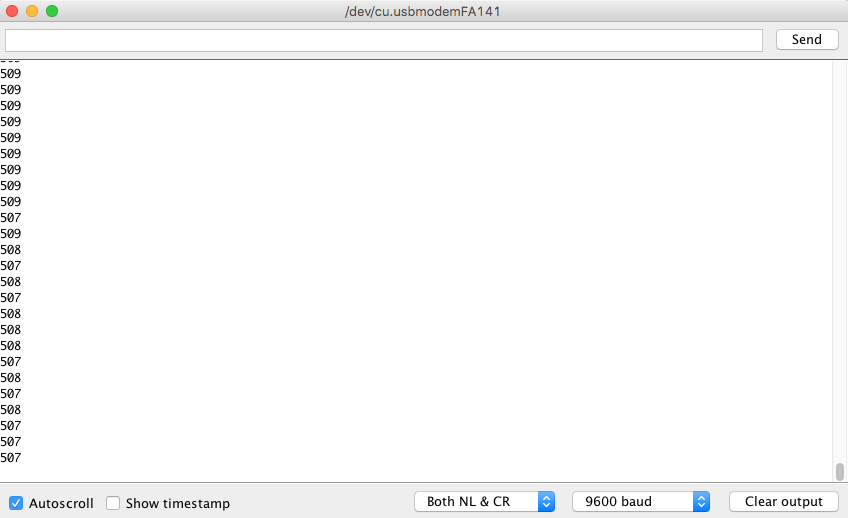
You should now see the values being read by the Ro sensor. See how they change as you hold the sensor close to various surfaces.
The main use of these sensors is to detect a change from e.g. a white to a black surface, or a change in distance. A classic robotics exercise is to make a line-following robot using two IR sensors. Professor Hill’s “C/C++ Arduino Robots” Class covers this in great detail, covering many C++ programming topics at a University level, as the robot is programmed to solve a maze.
Programming a basic line follower is quite simple, however, and you’re already halfway there now that you know how to take an analog reading from your IR sensors. Now you just need to know how to control your motors:

