Machine Code Workshop Lab 1: In-N-Out
Table of Contents
For the teacher
This lab is designed to introduce young students to machine code (assembly language) programming by programming an actual robot. What follows is a short setup guide that you may want to perform yourself, depending on the age of the students. Note that installing AVR Studio 4 requires admin privileges if the computers being used do not have this by default.
Setup
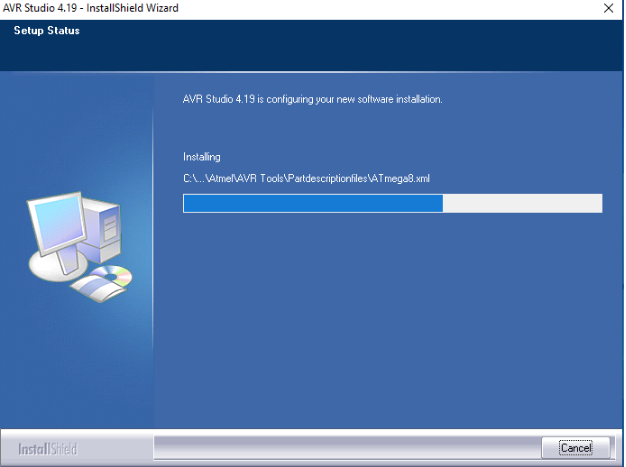
Click the link below to download Atmel Studio 4 and open the file to install.
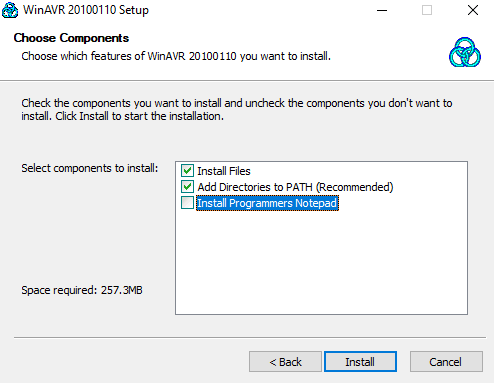
Click the link below to download WinAVR and click the file to install it. Make sure to uncheck “Install Programmer’s Notepad” when installing.
Click the link below to download the lab 1 files
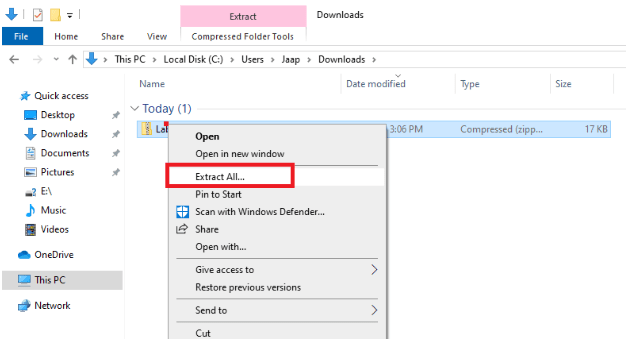
Right click the zip file downloaded and click “Extract All…”
Open the Lab 1 folder just extracted. You can delete the zip file.
Students Start Here!
Let’s learn how computers work… by programming them! It’s all not as hard as it sounds.
We’ll get started by opening the software we use for programming.
Step 1: Open the Lab 1 folder if you haven’t already.
Step 2: Double click the file with the ladybug icon
Step 3: Take a minute to read the comments I wrote at the top of this file
Step 4: As it says, scroll down to the next set of comments. This is where you will type your code later.
Let’s try to make the robot do something to test that it is working!
To tell a computer what to do, we have to put something in its memory. A simple piece of computer memory is called a register.
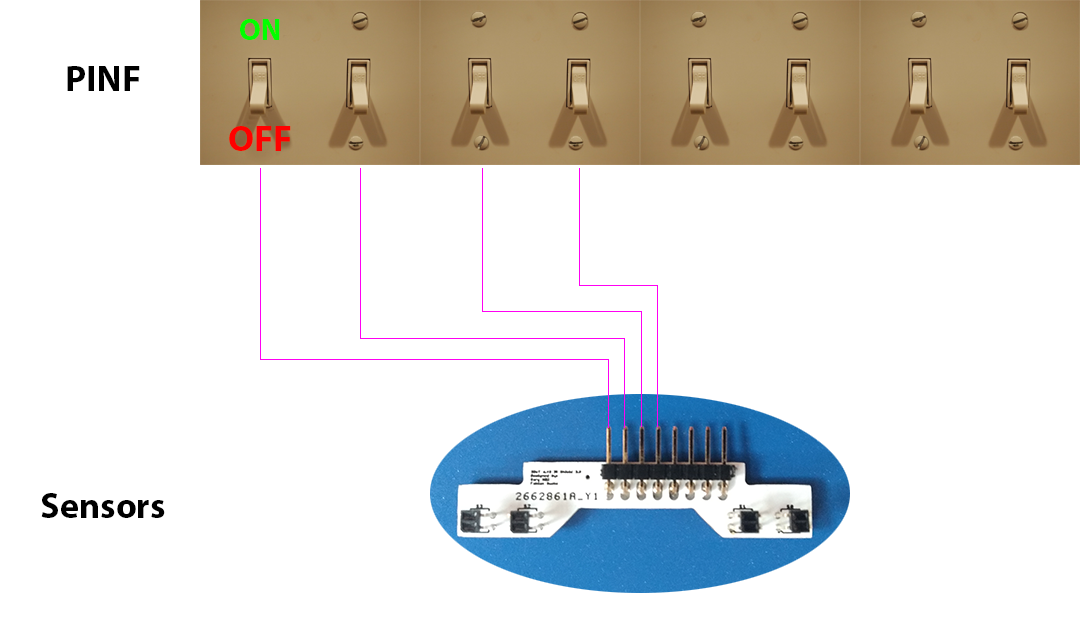
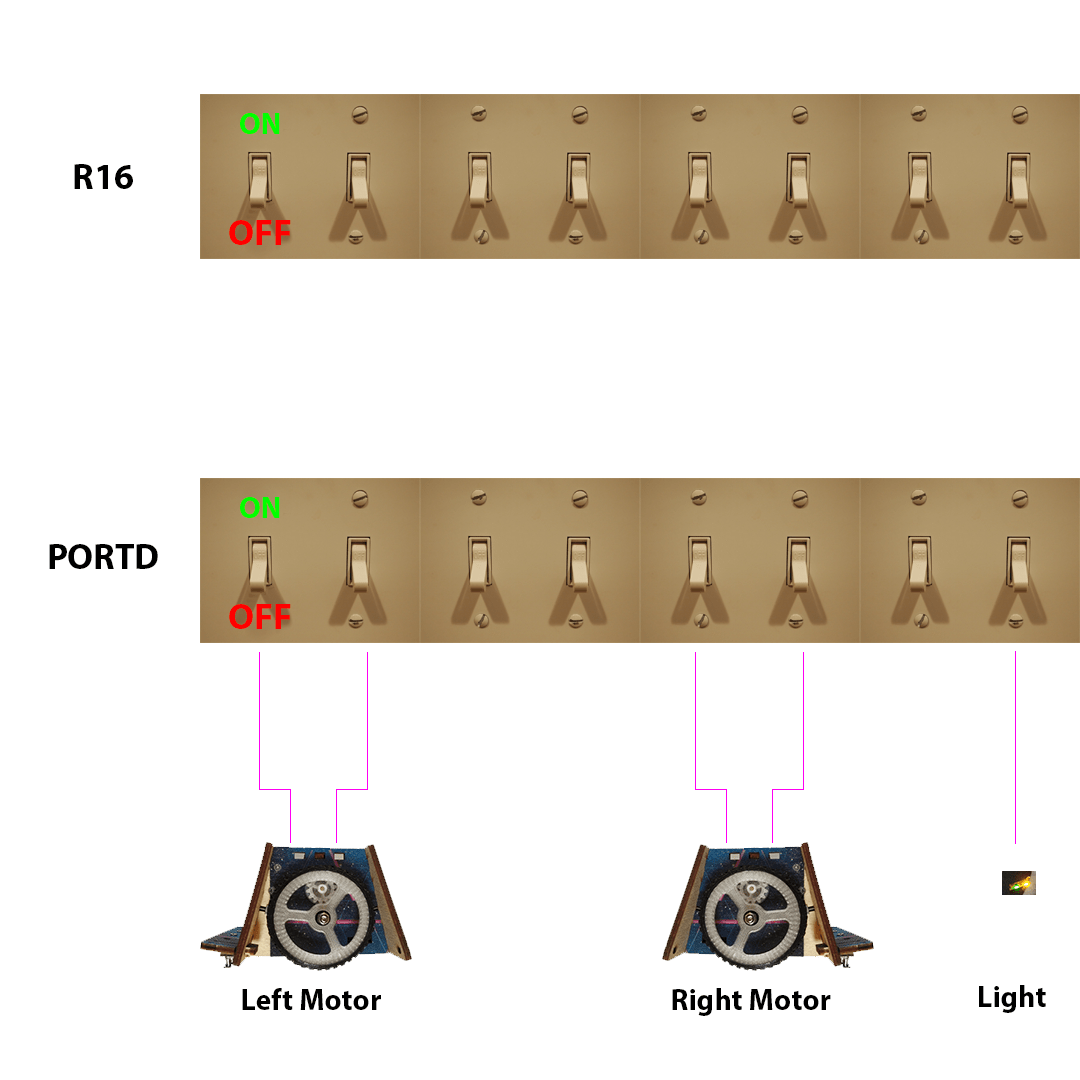
You can imagine a register as a line of light switches.
On the computer our robot uses, they often come in groups of 8.
Each switch can be flipped up or down to be on or off, just like the light switches in your house.
For example, let’s plug in the sensors to our robot.
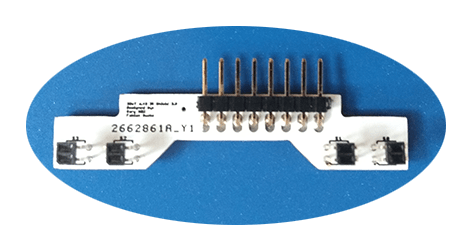
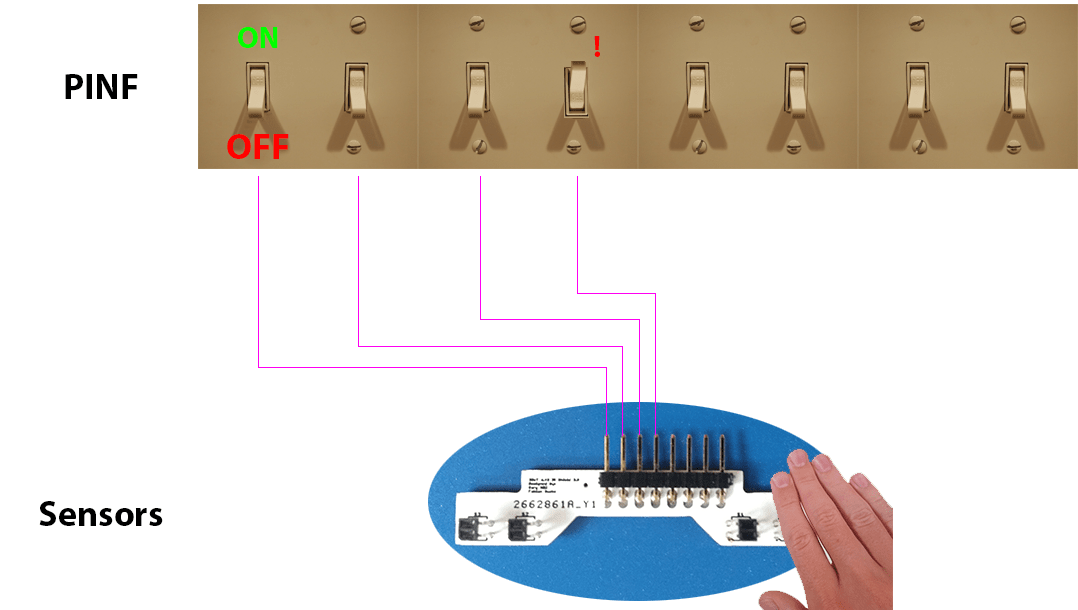
On this board, you can see 4 little sensors. Each of these can tell you if something, like your finger, is close to them – yes or no.
When you plug them into the robot, they are wired to a register.
This way, whenever we check that register, switches will be flipped to on or off if the sensors connected to them read yes or no!
The registers these sensors are wired to is called PINF.
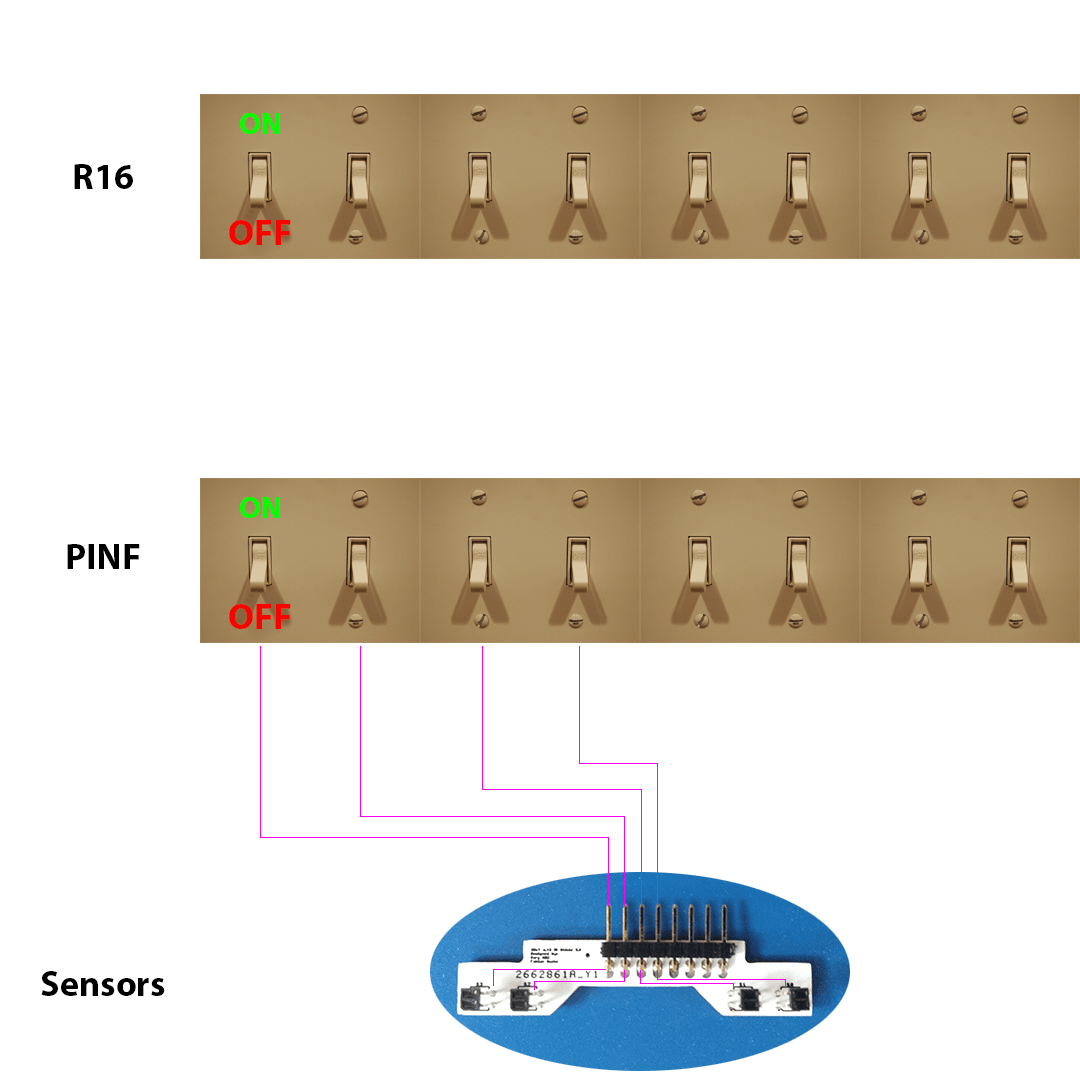
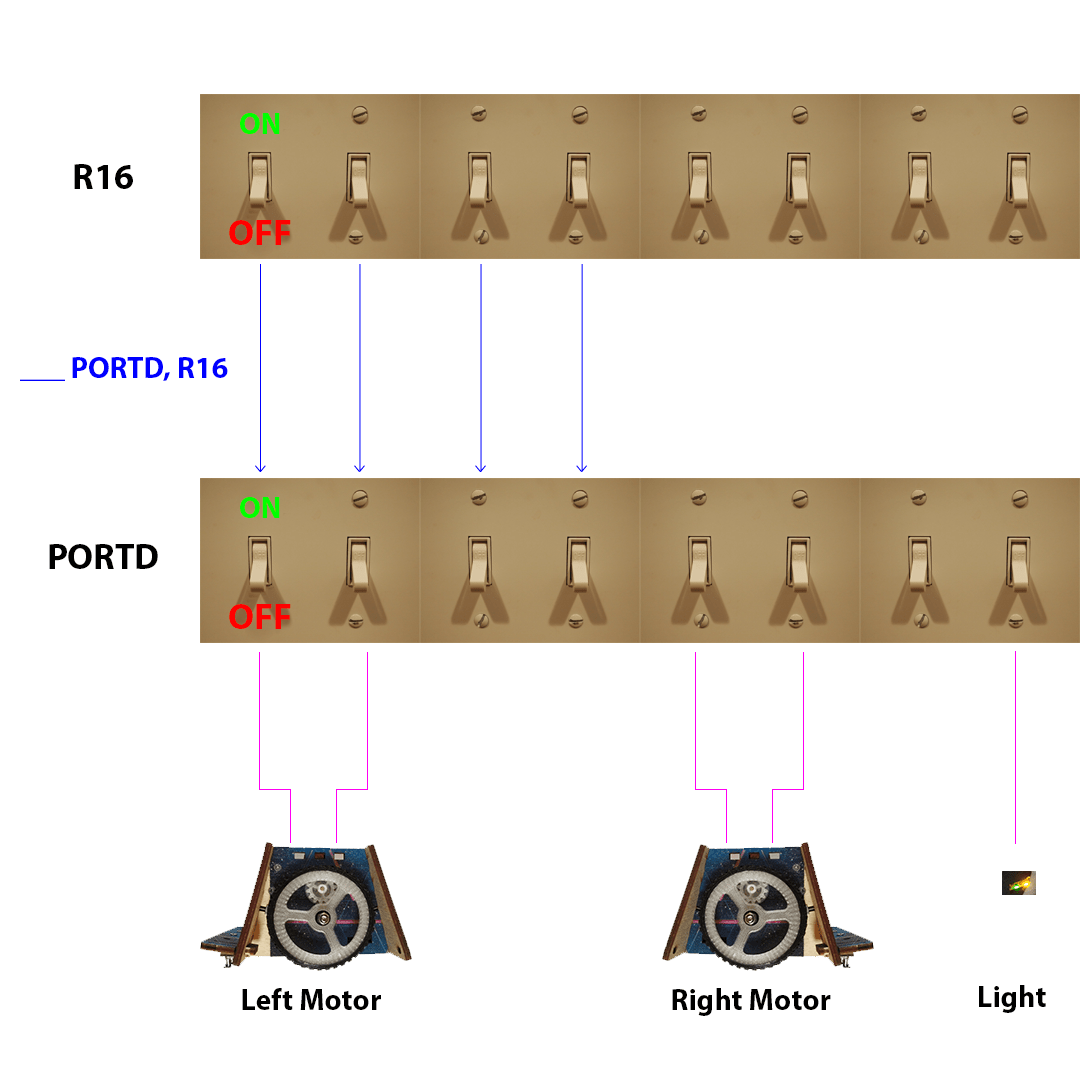
Let’s save what we see in PINF to another register. This is like clicking a download button to save something to your computer or phone.
The register we will save it to is called R16.
This is where we start programming!
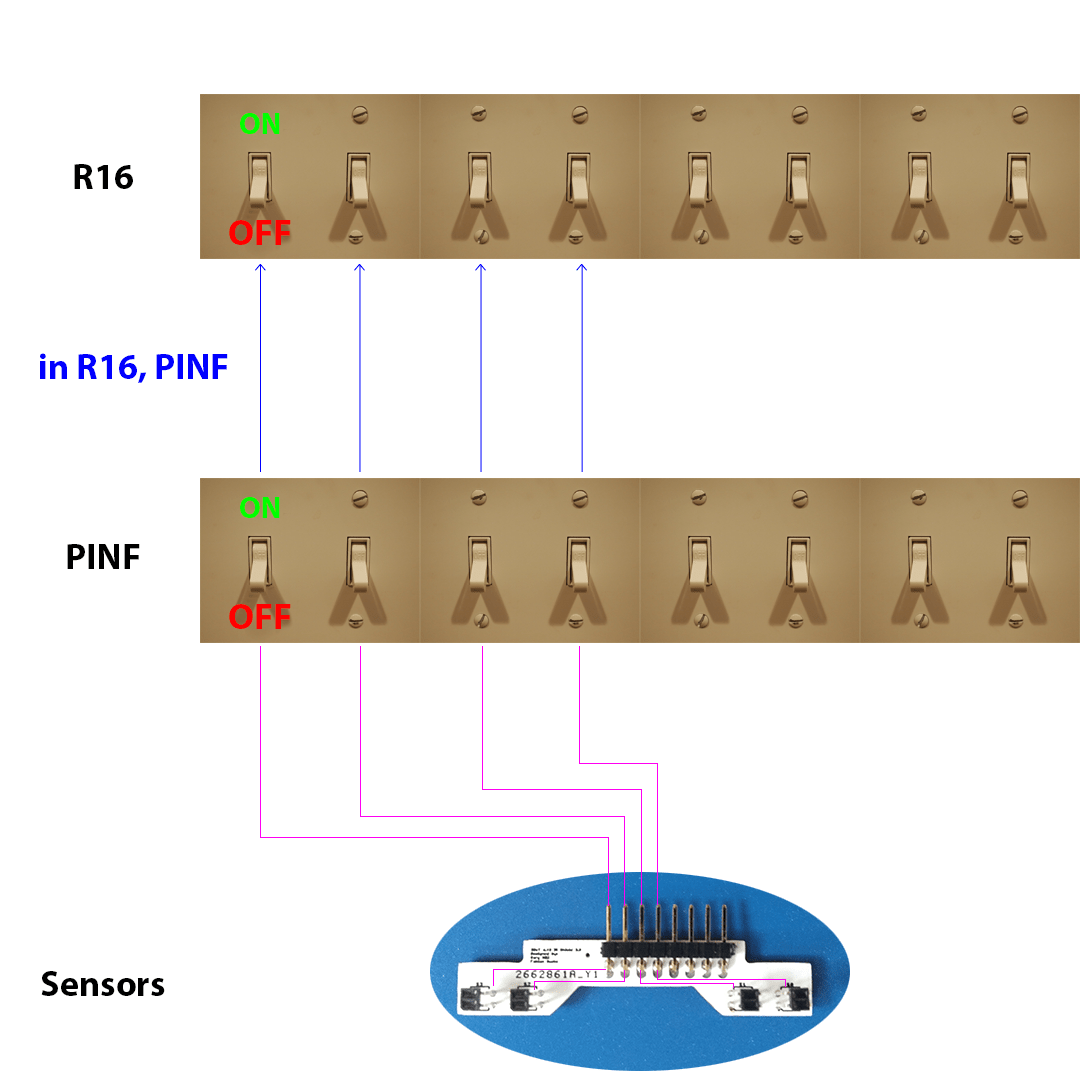
The instruction we will use to save the switches in PINF to R16 is “in“. Here is how you do it:
in R16, PINF
Step 5: Type this into AVR studio. Notice that we are saving from PINF, to R16. So the place we are saving to comes first.
Here is what we have so far: we are reading our robot’s sensors and saving them to R16. Great job!
Now, let’s do something with the switches we saved to R16.
Another register on the robot’s computer is wired to the motors and a green light on the side of our robot.
What would happen if we copied the switches from R16 to that register? Let’s find out!
As you can see, this register is called PORTD.
Can you guess what instruction we have to use to copy the switches from R16 to PORTD?
Sadly, we can’t use in, since that only works for saving a register into our computer’s memory. To copy the switches from R16 to an output, like the registers wired to our motors, we use a different instruction.
Hint: see the title of this lab!
Step 6: If you think you know the answer, type this next line of code so you should now have:
(other stuff up here...)
loop:
//Your code goes below this line!
in R16, PINF
__ PORTD, R16

rjmp loop
Programming the Robot
Step 7: To test your code, press the assemble button:
If you made a mistake in your code, the program will tell you there are errors. Double check your code, fix any mistakes and try again.
Let me/the teacher know if you can’t find any mistakes after trying.
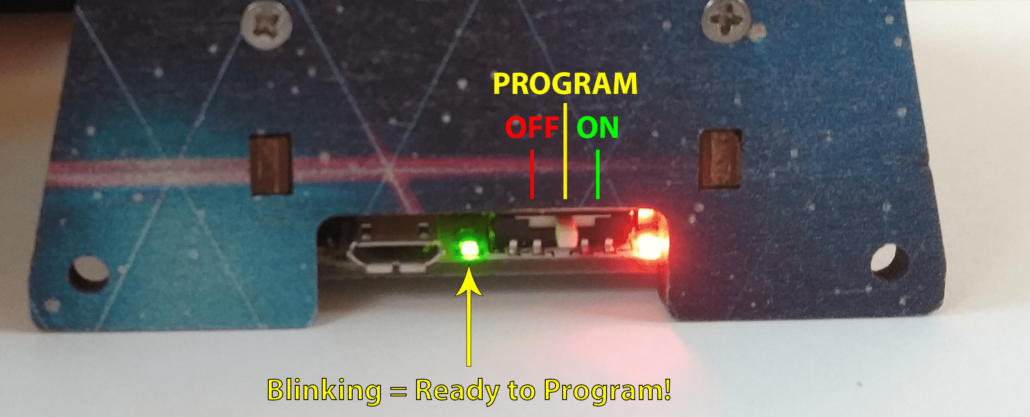
Step 8: Set your robot to program mode by moving the switch to the middle
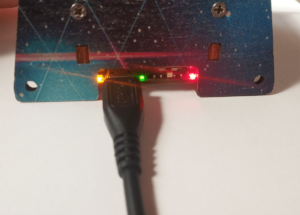
Step 9: Plug in the USB cable
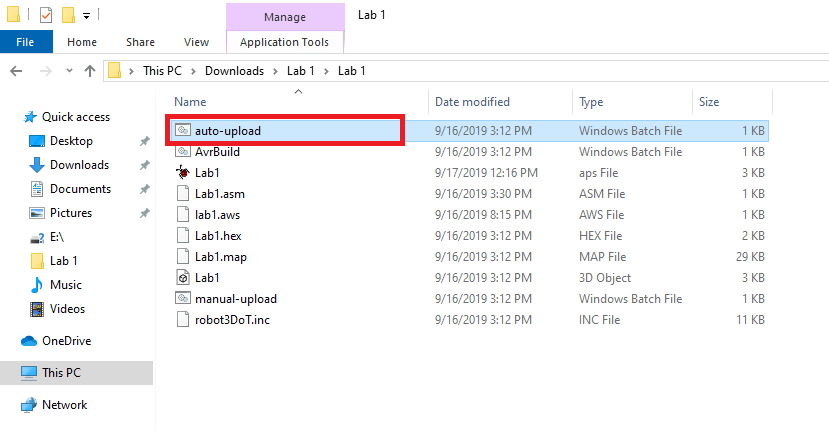
Step 10: Go to your Lab 1 folder and double-click “auto-upload”
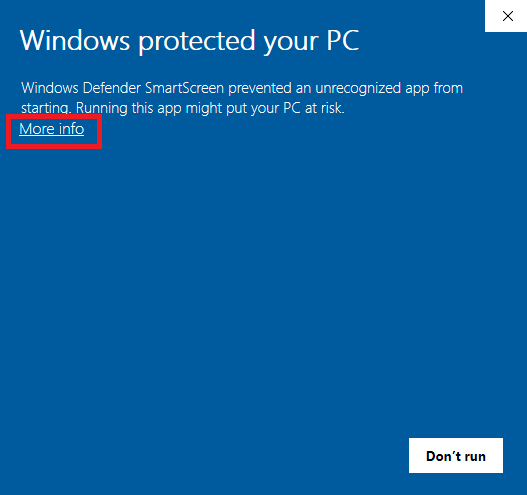
If you get this warning, click “More info”
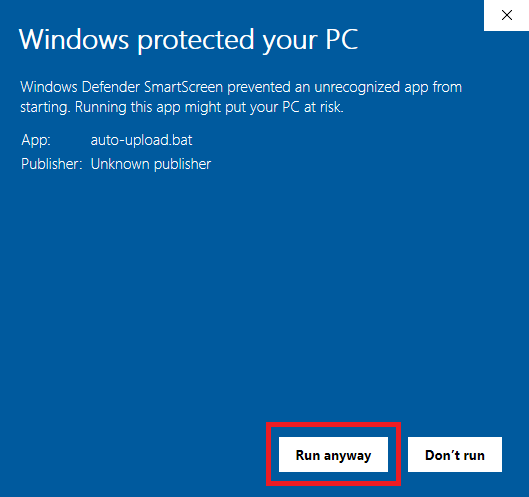
Then click “Run Anyway”
Step 11: Set the robot’s switch to ON and see if your code worked!
If you run into errors when trying to upload, let me/the teacher know.
Here’s how it should look:

