Modified Slush Casting Method
By Simon Abatay – 3D Modeling & Manufacturing
After the mold is finished, it is time to cast the leg.
This method is a variation of roto-casting and is popular in the DIY prop making community.
(TheRPF)
http://www.therpf.com/f11/mold-making-slush-casting-whre-do-i-start-36457/
Materials:
- 2-Piece mold
- Smooth Cast 300 Part A and B
- Rubber bands
- Oil Based Clay
- Liquid Dye
- Plastic Cups
- Mixing device
Process:
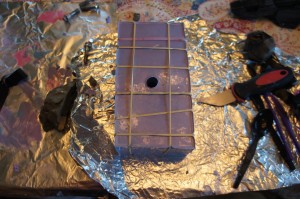
- Use rubber bands to hold the 2 piece mold together. Apply the rubber bands in both the horizontal and vertical direction of the mold.
- Pour equal amounts of the Smooth Cast 300 parts in 2 separate cups. Roughly about 2 – 3 ounces per.
- Pour both parts into the same plastic cup and stir well.
- Check both the color and viscosity of the mixture to make sure it is uniform throughout.
- Drop about 3 eye drops of liquid dye into the mixture and repeat step 4 after mixing.
- Pour the mixture into the mold.
- Lift the mold and move it side to side and in a circular motion. This will slush the mixture around so it will form along the sides of the mold.
- After about 2 minutes of casting you will see that the mixture will bubble. This bubbling is due to the dye and resin mixture.
- The mixture will then rise out of the mold where it was initially poured into.
- Using the clay, plug the hole so that the bubbling mixture doesn’t rise past the mold itself. This bubbling effect will fill the inside of the mold while keeping the desired shape and look.
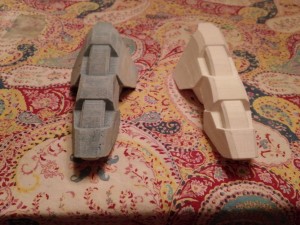
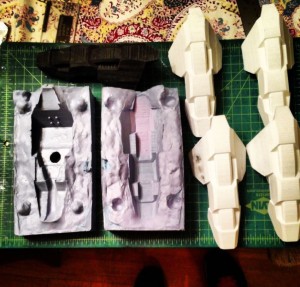
- After 15 Minutes, Pull the mold apart. What you are left with is a lighter version of the 3-D printed piece. The inside of the casted piece will mimic the honey comb effect of the 3-D part.
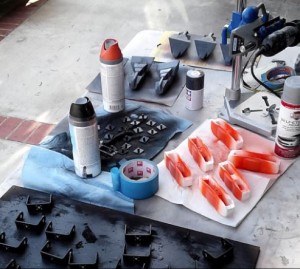
- Sand, prime, and paint to the desired color scheme, or keep it raw.
The following link is the process in video form:
https://www.youtube.com/watch?v=I57pOEQ6x_w&feature=youtu.be


