Molding Parts
By Vinh Kim, 3D Modeling and Manufacturing
Introduction:
Here I will show you the process of molding and casting the Hexapod parts with pictures.
Tool & Supplies:
- Sliding Compound Miter Saw
- Hardwood Flooring
- Mold Max 40 or OOMOO 30
- 3D- printed parts
- Glue gun & hot glue
- Ease Release 200
- Vinyl gloves only (Latex gloves will inhibit the cure of the rubber)
- Drill
- Screws
- Digital Scale
- Measuring Tape
- Disposable plastic cups
- Safety Glasses
- Utility knife
- Clamp
- Disposable Wooden Chopstick
Making the Mold Box
Figure 1: Thank you to Ali the manufacturing manager for printing the Hexapod parts. Here I have the Hexapod 3D printed parts ready.
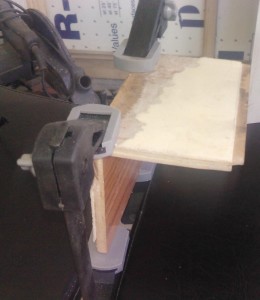
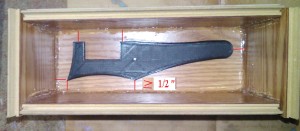
Figure 2: Here I measured (minimum of ½” of space on all sides of model see Figure 5) and cut the hardwood flooring using a sliding compound miter saw.
Figure 3: Using the two free 12 in. Ratchet Bar Clamp I got from Harbor Freight by using a coupon to clamp the wood that I cut together, so I can drill the holes and put the screws in. Here I am using a M3-0.50 x 12 mm screws, than I used a drill bit size 2.50 mm to punch the holes.
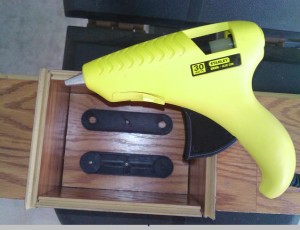
Figure 4: Next I used a 1.60 mm drill bit to drill the holes in the 3D printed parts and screwing the model down with a M2-0.45 x 12mm screw to prevent the 3D parts from moving. Also to prevent rubber from leaking out of the mold box, I used hot glue to stick it around the interior edges.
Figure 5a: Mold box done. Figure 5b
Pouring Mold Rubber
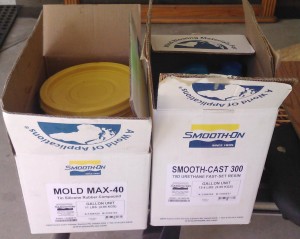
Figure 6: Once again, thanks to Ramon Luquin (Fall 2013 Hexapod Project Manager) for donating some mold and casting material to the Hexapod team.
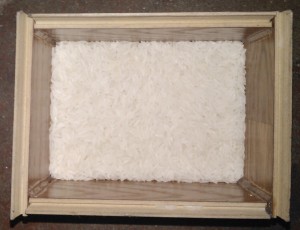
Figure 7: Here I’m using rice to estimate amount of rubber or you can go online at http://www.smooth-on.com/tools.php to use a Material Calculators “How much liquid rubber do I need?”
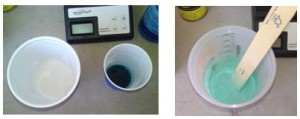
Figure 8: Using Mold Max 40. It will be mixed in a 10:1 ratio. I am using 8 oz for Part A, 0.8 oz for Part B than mixing it together. Vacuuming is required to remove all the air bubbles. When mixing, just make sure to keep mixture stick on the bottom of the container and scrape the sides of the container. Than keep on swirling in circle until you get a solid green color.
As for OOMOO 30, I need mix a 1:1 ratio than I would use 4.4 oz for Part A and 4.4 oz for Part. However for this particular kind, it’s not required to vacuum this product since it has a low mixed viscosity.
Figure 9: Spray a light-mist coating inside the molding box, so when you remove the rubber it does not stick to the model.
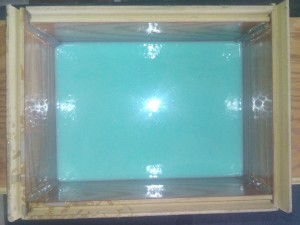
Figure 10: To prevent air bubbles. Pour the rubber into a corner of the mold box and allow the rubber to flow evenly throughout the model. Let it cure and rest for 24 hours. OOMOO 30 only required 6 hours to form.
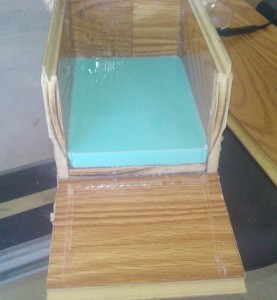
Figure 11: Finally, after rubber has cured, remove the retaining walls away from the cured mold.
Figure 12: Molding done.


