Obtain and repair STL files
By Vinh-Khoa Ton, Control and Image Processing
Purpose of this process:
After obtaining the STL files for all ROFI parts, we needed a way to create a “clean” version of the modulated STL files. The purpose of this process was to eliminate all holes, gaps, and unclosed surfaces on the parts to ensure the quality of the 3D printed products.
Obtain the STL files:
1. Download the ZIP file that contains all the required 3D printed parts for ROFI at:
https://docs.google.com/file/d/0By_h1KTMNaWNNFlCLUJMY0dUbUE/edit
2. Extract all files into a folder.
3. Next, we will analyze and repair these files.
What software to use:
There is plenty of software available on the internet. We used Netfabb because it is free and easy to use, with or without installation of the program.
I. Without installation of Netfabb: this is a quick solution to repair a few parts without the need to download and install the application on computer.
1. Go to http://cloud.netfabb.com/

2. Click “Choose File” to select the STL that you want to fix.
3. Enter your email address (the repaired STL file will be sent to this email).
4. Choose the appropriate measurement unit that was used when the STL part was created (millimeters by default).
5. Click “I accept the terms and conditions mentioned below” and click “Upload to Cloud”. The page will open an upload progress dialog box shown below.

6. If successful, a confirmation will appear.

7. Open the email address entered above.
8. Click the download link provided in the email.

9. Click “Download” next to “Repaired file.”
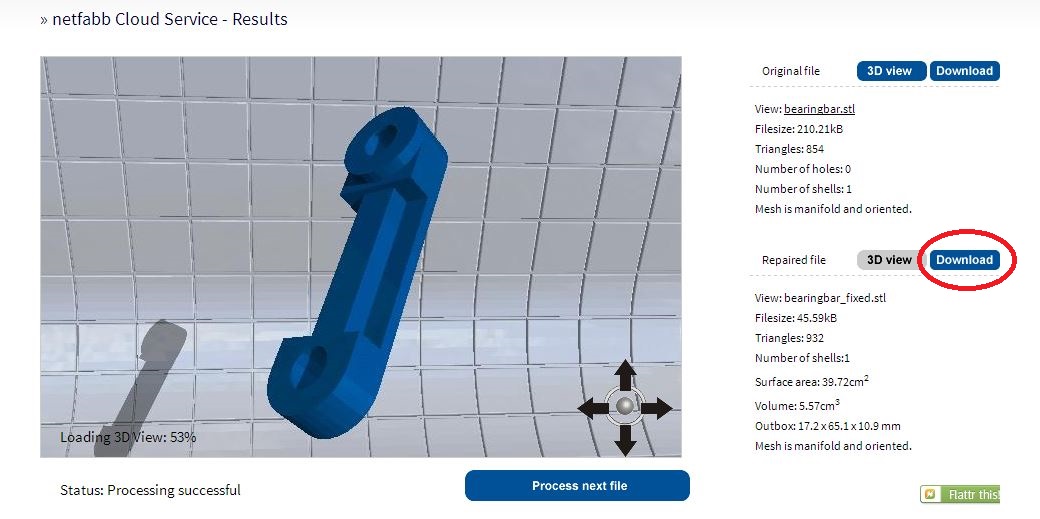
10. Save the repaired file to computer.
II. With installation of Netfabb: a powerful software that allows users to easily repair multiple STL files.
1. Download the Netfabb Basic. Go to: http://www.netfabb.com/downloadcenter.php?basic=1
2. Select your computer operating system and click the download button.

3. Click the generated link to download Netfabb Basic.

4. Run the downloaded setup file “netfabb-basic_5.1.0_win32.exe” and follow the instructions
to install Netfabb Basic. (Note: Admin privilege may be required)
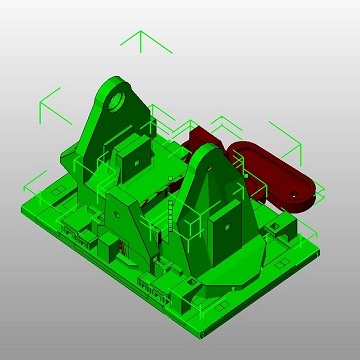
5. Open Netfabb Basic. Click Project -> Add part -> Go to the STL folder, select all of the parts and click “Open”. The software will load all of the selected parts, which can be viewed in the right-hand panel shown below:

Note: You can click the eye icon next to the part name to enable/disable its visibility.
6. Choose the part that needs to be repaired. From the menu bar, choose Extra -> Repair Part. A new item will appear below the original part.

7. Right click on the new generated item (called “Part Repair”) and click “Apply part repair”.

Choose “Keep old part” in the next confirmation window.
8. A new item will be generated. Right click on this part and choose Export part -> choose “As STL”.
9. Save the repaired file to your computer.
10. Repeat the above steps for the remaining parts.
Conclusion:
Netfabb is an easy to use and free software for repairing 3D printed parts while providing helpful tools for other 3D modeling functions such as an automatic repair tool, a slicing tool, and an analysis tool. We chose to use Netfabb because it provided enough applications for the Biped project to meet our requirements.