Temperature Control at the Tip & Base of the Syringe
By W. Mevan Fernando & Ali Etezadkhah
After pouring the agarose gel into the syringe it was found that the gel solidified at the base of the syringe and at the tip of the needle due to lack of heating in those specific areas. Initially we decided to use 0.5Ω, 5W wire wound resistors to heat the base of the syringe. After running four of these resistors in series to increase the resistance and limit the amount of current passing through them, it was found that the resistors heated up enormously and would thus melt the plastic in the syringe. Below are current and power calculations we obtained for the four resistors in series. They were run using a 12V power supply.
Req = 0.5+0.5+0.5+0.5 = 2Ω
Pdissipated = I2Req = (62) (2) = 72W
Next, we wound a copper wire around four of the same resistors, also in series, with the resistors stacked on top of each other to test if the copper wire conducted enough heat to heat up the base of the syringe. Thermal tape was wrapped around the resistors and copper wire to stop heat from escaping. Even though the copper wire heated up, it didn’t carry enough heat after 2 inches of wire, preventing us from using this method as a solution to the problem.
Finally we decided to use two 330Ω resistors on the needle of the syringe and six 330Ω resistors on the base of the syringe both connected in parallel to provide heat to prevent the gel from solidifying. Thermal adhesive was used to glue the resistors on to the base and the needle. The 330Ω resistors heated up to around 40°C when we tested them which provide enough heating to solve our problem. The resistors were actually found be 328Ω once we measured them using a digital multi meter. Below are current and power calculations we obtained for the 330Ω resistors.
For the needle:
Req = (330*330)/(330+330) = 165 Ohms
Pdissipated = I2Req = (0.0732) (165) = 0.873W
For base of Syringe:
1/Req = 6* (1/330)
Req = 55 Ohms
Pdissipated = I2Req = (0.2182) (55) = 2.618W
Req measured using a digital multi meter for the needle and the base of the syringe came up to be 164 and 54.9 respectively. These values match the theoretical values we calculated above. The current draw from these resistors is quite low as well and thus would not damage our power supply in contrast to the wire wound resistors we used before.
The pictures below show the resistors placed on the needle and base of the syringe:
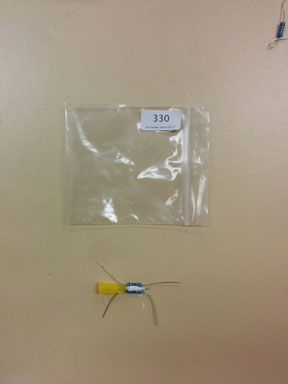
Two 330 resistors glued to needle using thermal adhesive
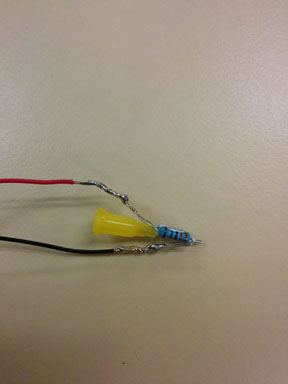
Connecting wires soldered on to the resistors
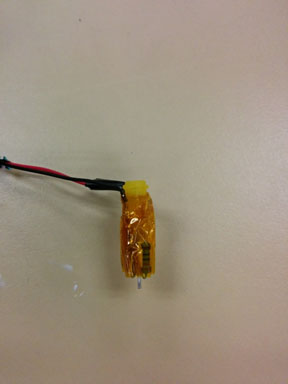
Thermal tape used to insulate the needle and keep leads from touching
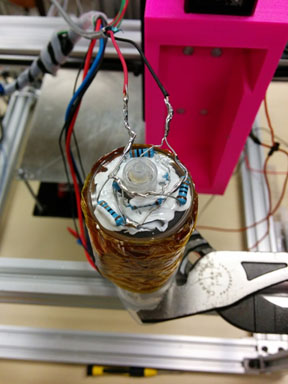
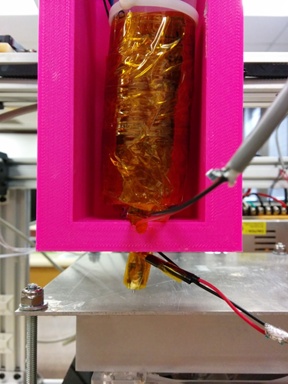
Thermal tape used to insulate the base and keep leads from touching Six 330 resistors glued to base of syringe using thermal adhesive and soldered to connecting wires
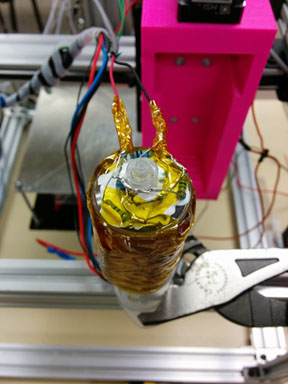
Six 330 Ohm resistors glued to base of syringe using thermal adhesive and soldered to connecting wires
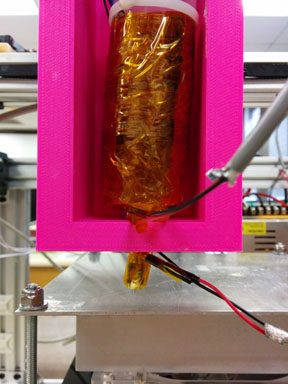
Needle connected to syringe and placed in the extruder